Velvet sand on nails: what is it, technique and application instructions
In an effort to perform an exquisite manicure that draws attention to her hands, a beautiful lady uses many different materials and techniques for applying them. And velvet sand on nails is presented by nail art masters as one of the excellent decoration options. But what is it, how to apply it correctly and what decoration options exist with it?
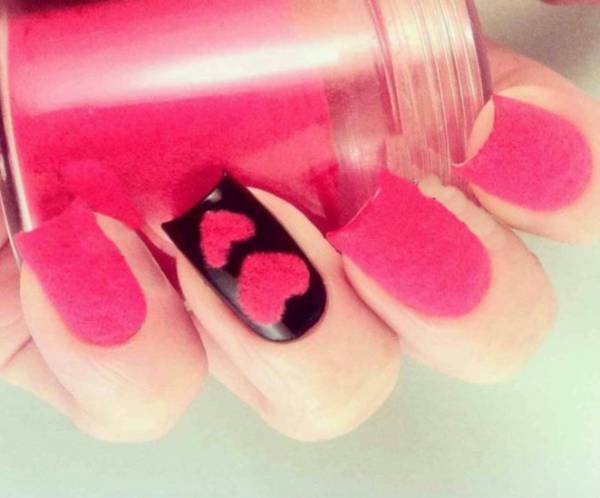
What is velvet sand that creates an exquisite and especially sophisticated effect on nails? At its core, this is a special acrylic composition, brought to the consistency of coarse powder. Depending on what result the master wants to achieve, manufacturers can add viscose to it to create a shimmering effect, or refuse it to completely recreate the velvet surface.
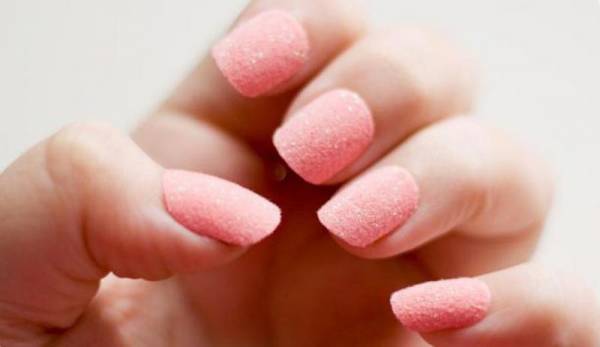
This sand was specially designed to create a special decoration when applying a design with gel polishes, but ordinary varnishes also perfectly complement it. In addition to a noticeable soft effect, the manicure created with this material is distinguished by volume and special durability, despite the fact that in most cases no topcoat is applied at the end. After all, when answering the question of how long such a design lasts, the masters guarantee the preservation of the result from a week to a month. However, this is not the only advantage of the material under consideration and the technology of its application.

Firstly, the material is quite easy to use and does not require special tools. The latter are used optionally and only when it is required to speed up the drying process or to perform a particularly complex design.
Secondly if the velvet sand is over or it is not in sufficient quantity, then the masters give a rather simple answer to the question of how to replace it: coarse acrylic powder or the powder used in scrapbooking or embossing. However, it is better to check in advance on an artificial nail the final result with the selected substitute.
Read also: Feng Shui manicure: explaining the meaning of colors and each finger
Thirdly, having read the step-by-step execution instructions described below, we can conclude that this technology of applying a manicure can easily be obeyed even by a novice master or an amateur. The thing is that it does not require professional education at all and can serve as an excellent substitute for salon nail decorating procedures.
Before moving on to the technique of correctly applying velvet sand, nail art masters recommend that you familiarize yourself with some subtleties at work with him, namely:
- Velvet sand is best attached to matte shades of varnish, and the chosen nail design is easier to draw on them. However, if it covers the entire surface of the plate, then glossy varnish can also be safely used.
- If the master plans to draw patterns, and not cover the entire surface of the nail with sand, then it is better to use gel paints as a base for it, which, unlike gel polishes, do not spread over the surface. True, the disadvantage of the latter type can be eliminated if, before applying the contour with gel polish, the plate is lightly treated with a grinding buffer.
- If the gel polish is too thick for a filigree contour, then you can mix it with a suitable shade of gel polish until you get the desired consistency.
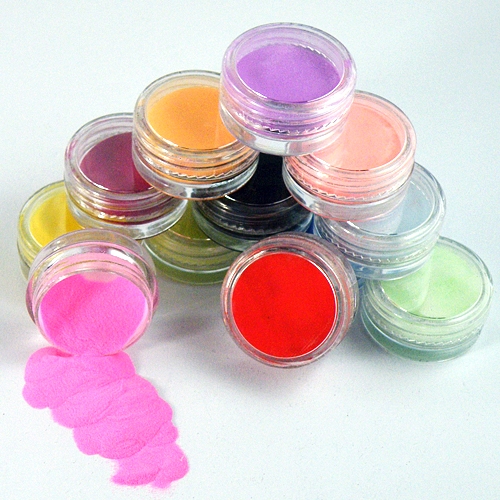
- For sand, it is best to use white or pastel shades of paint. This is how it will create the necessary velvety effect.

- In order for velvet sand to be well fixed, it should be properly dried in a lamp, taking into account the factors of both its tone and the shade of the used gel paint or gel polish. So, for a colored type of sand and a dark shade of the contour, it is recommended to maintain the maximum possible drying period in the lamp, recommended by its manufacturer. And during normal drying, do not touch the nails for at least half an hour.
Basic technique for applying to the entire nail plate
Nail art masters offer many options for how to make velvet sand on nails. But, before experimenting with them, you should master the basic instructions for its implementation.
Read also: Manicure with acrylic powder: exquisite design quickly and easily
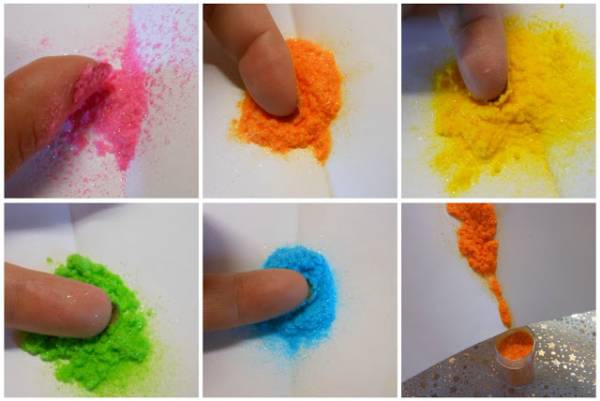
Velvet sand on nails at home is quite simple to apply. To do this, it is enough to prepare the nails in advance, giving them the desired shape and degreasing. Then cover with a base layer, let it dry. This is followed by the main varnish, the shade of which should either match the tone of velvet sand, or be a tone or two darker. Not allowing the main layer to dry out, a thin layer of velvet sand is applied to it by spraying with a card or business card. And leave to dry at room temperature for about 15-20 minutes. It is not necessary to cover with a finishing layer. Residues are removed with a manicure brush.
You can speed up the drying process of such a manicure only with the help of a UV lamp, in which nails with a velvet design are placed for about 2-4 minutes.
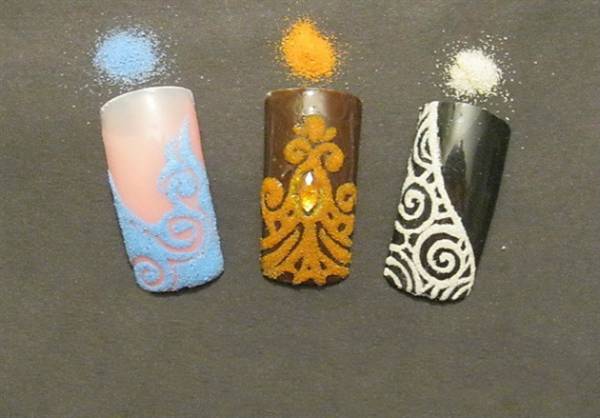
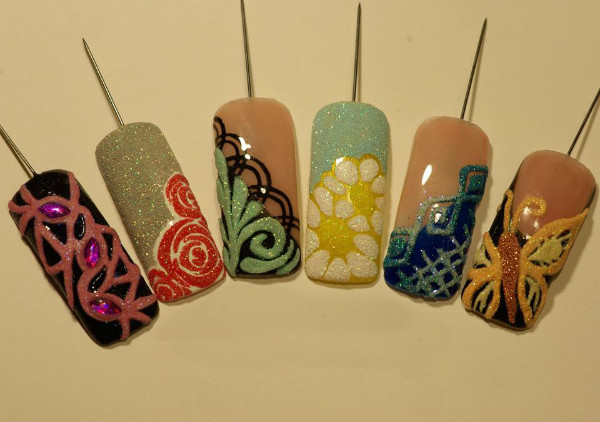
Instructions for applying velvet patterns
Nail art specialists work somewhat differently when it comes to making patterns using velvet sand.
Step one. A base coat is applied to the previously degreased nails, which have been given the desired shape. After that, the main background is performed and the procedure ends with a topcoat and removal of the sticky layer.
Step two. Contours are applied to the nail plate with a “hair” brush using gel paint. At the same time, the paint itself is laid out with a convex edging, thereby creating a three-dimensional effect, trying to maintain the same thickness throughout the nail design.
Step three. Once the contour has been applied, you can immediately start applying velvet sand. To do this, the nail is placed above the container with it and gently and evenly using a spatula, the thickness of which is comparable to a business card, sand is spilled over the entire plate. Be sure to make sure that the sand is laid down in an even layer everywhere. Then send the nails to the lamp to dry. Then it remains only with a nail brush to remove excess sand with movements “from the cuticle to the free tip”.


