Gel polish at home: application, removal and design options
Today, making a beautiful manicure at home is not difficult even for a beginner. There are a lot of auxiliary tools for this, for example, such as stickers, stencils, etc. However, until recently, home manicure had one significant drawback - it was very short-lived. Everything changed with the advent of shellac (gel polish in a different way). It's a cross between regular nail polish and gel. The main advantage of shellac is that it lasts more than 2 weeks. At the same time, it can be used even at home. In addition, gel polish manicure has a very beautiful rich glossy shade.
So, the benefits of gel polish are obvious. It remains only to find out how to apply it at home what is needed for this, and how to remove it later .
What is necessary:
- base coat,
- Color gel polish,
- Top coat (fixer or top),
- degreaser,
- Ultraviolet lamp,
- Cuticle oil,
- saw blades,
- cuticle remover,
- Orange stick.
Progress
Step 1. Put your nails in order: give the desired shape, clean them, remove the cuticle. Next, polish the nail plate with a buff file. This is necessary for better adhesion of the coating to the nail. Pay special attention to the edges and base of the nail.
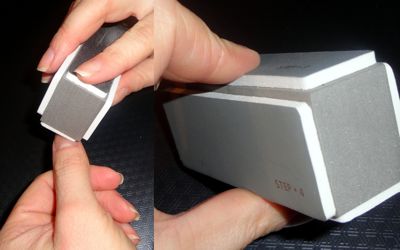 Sand the nail plates with a buff file
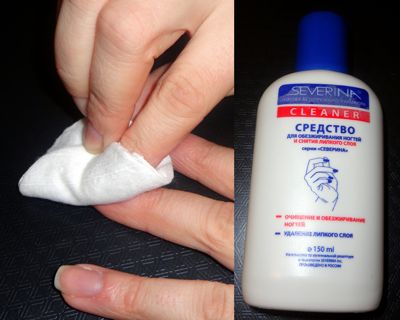
 After that, wipe the nails with a cloth moistened with a degreaser beforehand. By the way, if this is not the case, then you can use alcohol or nail polish remover.
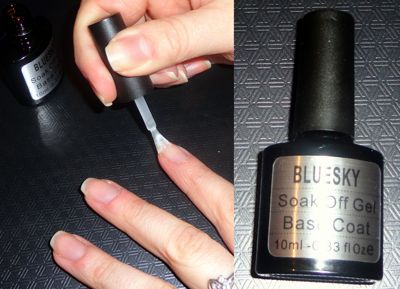
Step 2. Now start applying the base coat. Apply it in the thinnest possible layer. Paint the plate well from the outside and inside, this is necessary in order for the manicure to last longer. Then place your nails under an ultraviolet lamp for 1-2 minutes (if the lamp power is less than 36 W, then you need to dry longer).
When creating a manicure with gel polish at home, it is recommended to use a 36 W UV lamp. However, this coating can dry out even in less powerful lamps. (For example, I used a 3 W lamp, the coating is also fixed, however, I increased the polymerization time.)
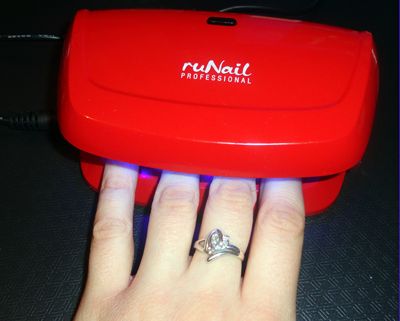 UV lamp for drying manicure gel polish 3 W
 A little later, I bought a 36W lamp, the difference is very noticeable. Drying time has been reduced, and the coating itself is much stronger. I ordered a 36 W lamp on Aliexpress for 750 rubles. Oddly enough, the old 3 W lamp was more expensive - 900 rubles, but it was bought in a Russian online store, like all other manicure products from this article. (shop - nailtishop). Recently I also order gel polishes on Ali, it also comes out much cheaper (within 70 - 100 rubles per bottle) and the quality isn't any worse. For comparison, the varnishes presented here were bought for 260 - 280 rubles (now they have become a little cheaper). On Ali, you can order files and orange sticks. To compare prices below, I published a screen with my order in Nailshop. I repeat, now varnishes in the Nailshop have become cheaper. For the sake of interest, go to Ali, compare prices.
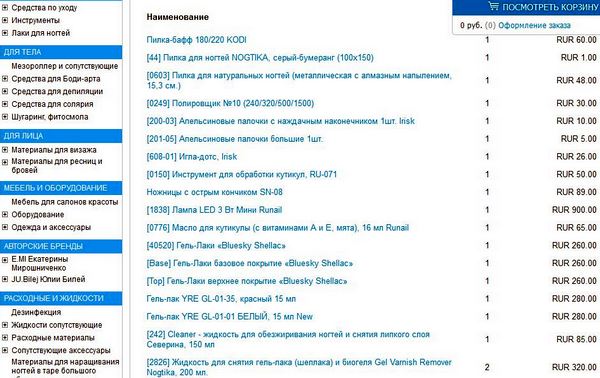 My order of tools and products for manicure with gel polish
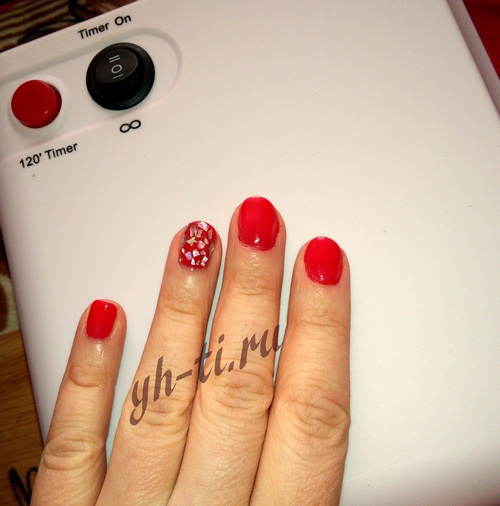
  A 36 W lamp with a timer, ordered on Ali for 750 rubles.
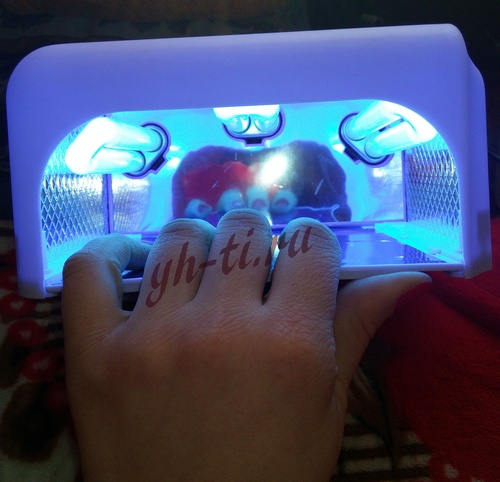
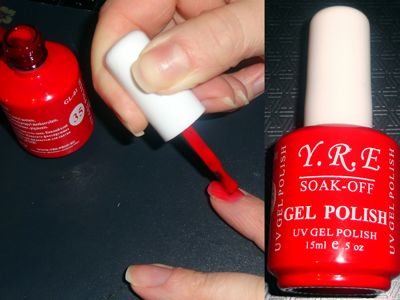
Step 3. The next step is to apply colored gel polish. The first layer of shellac should be thin. It should be applied very carefully, without touching the skin. If the varnish gets on the skin, remove it with an orange stick. It is not necessary to paint over the inside of the nail with colored varnish. Then place your hand under a 36 W lamp for 4-5 minutes.
Step 4. Next, apply a second color layer. It may be slightly thicker than the first. The second layer will make the color more saturated and vibrant. After applying it, also polymerize the manicure under ultraviolet light for 5 minutes.
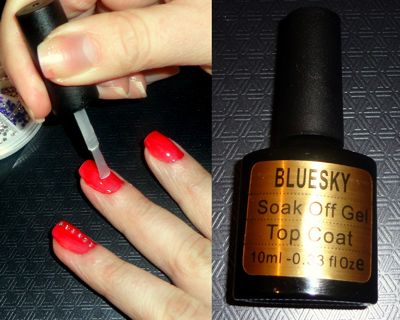
Step 5. Now cover your nails with a fixer. It is thanks to this top product that the nail polish lasts a long time and firmly + it will acquire a beautiful glossy shade. Carefully paint over the nail plate with it, “sealing” the manicure from the inside of the nail. It is advisable to apply two layers of top, drying each of them in a lamp, in which case the manicure will last a very long time. Dry each layer of top under the lamp for 2-3 minutes.

Step 6. The final step is to remove the sticky layer from the nails with a degreaser. If not, you can use alcohol or nail polish remover.
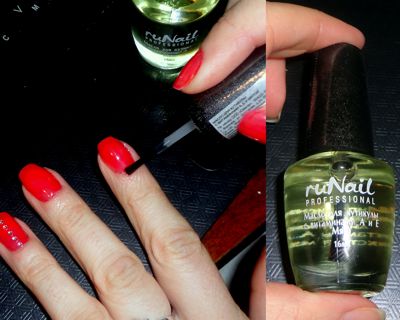
Step 7. As a final touch, pamper your fingers with cuticle oil. Apply it to the skin at the base of the nail and rub it in.
To make the gel manicure last longer, remove the excess gel polish protruding from the sides of the nail with a regular metal nail file.
How to remove gel polish at home
To remove shellac, you will need the following:

Separate the cotton pads into two halves, fold each of them in half and cut. Apply liquid to the resulting triangles, attach the discs to the nails and wrap tightly with foil. The foil is necessary so that the solution does not evaporate.
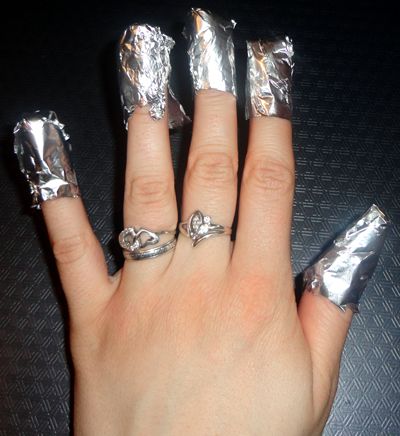
After about a quarter of an hour, remove all this uniform and remove the remnants of the gel polish with an orange stick.
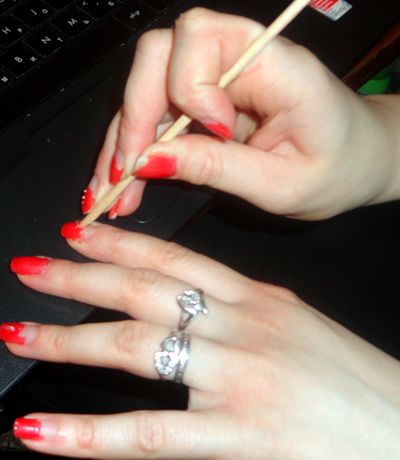
If the coating does not come off well, repeat the procedure with the foil again. Minor residues of shellac can be removed with a polishing file.
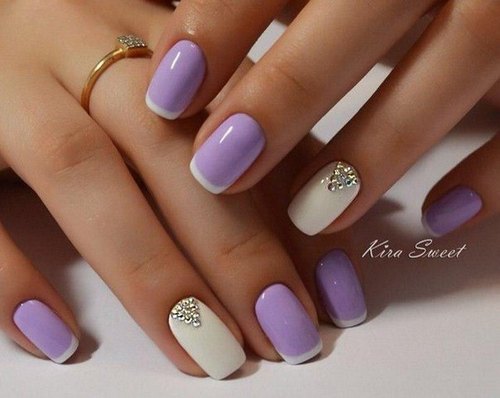
Gel polish: design (manicure options with shellac)
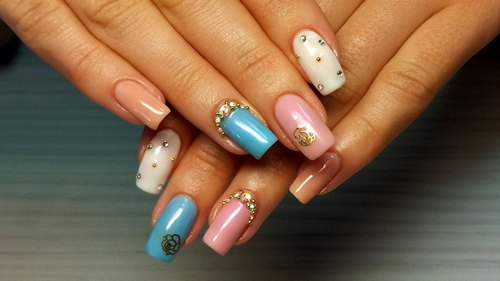
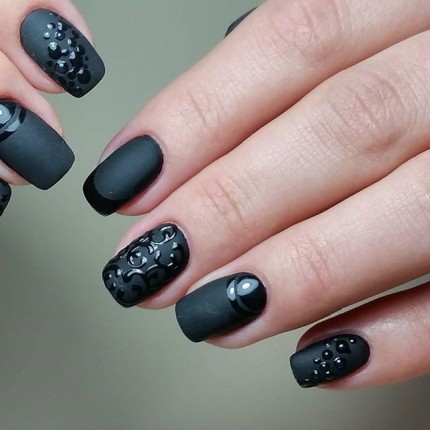
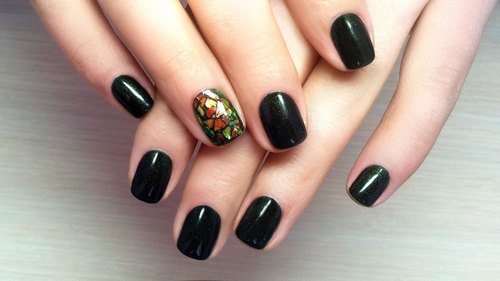
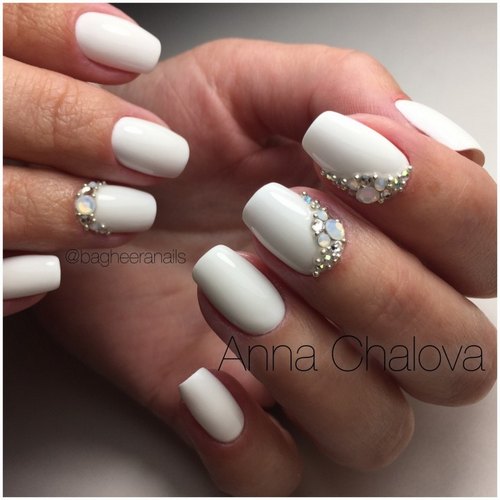
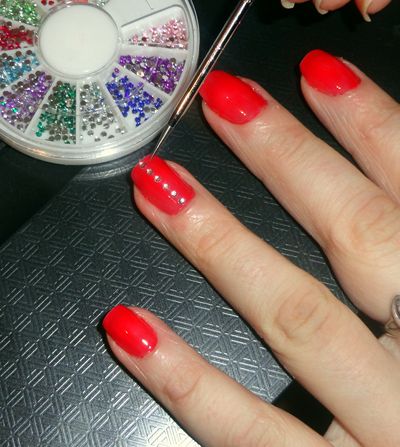
We have studied the technology of applying and removing shellac J Now let's look at design options from gel polish. So, for example, the easiest option is to decorate your nails with rhinestones or stickers. A more intricate manicure will turn out if you supply it with, or.
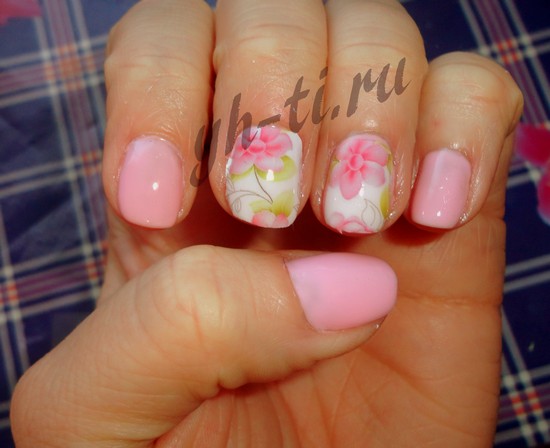 Manicure with water stickers (how to glue -)
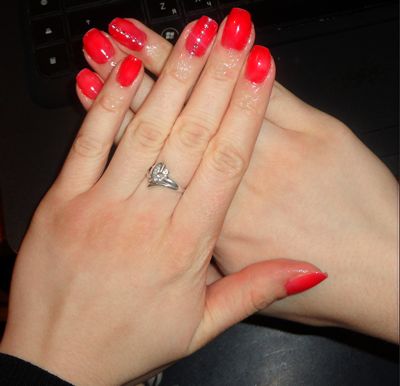
 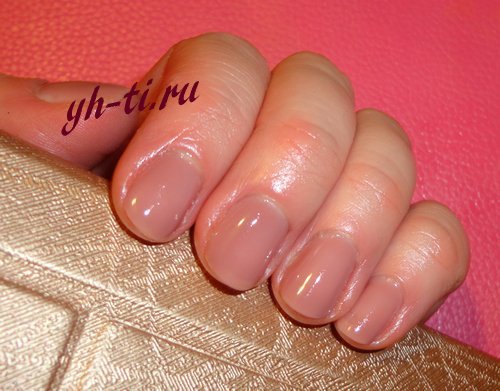 Gel polish without decor - a universal option and color
 Do not forget about the drawings. So, traditional or will look very advantageous. And you can try to draw flowers, hearts and other patterns on your nails.
I did some googling, and here are some interesting photos of the shellac design that I found: