What are nail sliders and how to glue them?
Not all nail service masters are able to create a unique design with their own hands. To do this, you need to master the technique of painting with acrylic or gel, as well as have a rich imagination and imagination. When the master does not own one of these skills, then you can resort to the help of nail sliders. They can be used not only by a professional, but also by any girl at home when she does a manicure. It is not difficult to make each nail spectacular, you just need to learn how to properly apply sliders to the nail plate.
What are nail sliders?
Slider (literal translation from English "slide", "slide") - a thin film with an image, on the inside of which glue is applied, which is activated with water.
Slider design is very developed among nail artists - the industry for its ease of application and a variety of patterns and patterns. Slides (or as they are often called - water transfers, stickers) can be placed on the nails:
- natural;
- extended (gel or acrylic - does not matter);
- coated with gel polish or shellac, biogel;
- where the tips are pasted.
The length, size of the nail and its shape when using water stickers is not important. You can decorate with them both the entire nail plate and part of it, as there are different types of sliders for decorating nails.
Kinds
Decals on the market of the nail industry are presented in the following forms:
- a dense picture (universal in use: slides with such images cover the entire nail (the color of the base is not important), while a combination of several pictures is possible; a part of the image is also used to make a jacket (for example), you only need to pre-cut the shape using stencils);
- transparent base (both the entire nail and its part are covered, but before sticking the slider, you need to choose a suitable base for discreet shades);
- on the entire nail (the slider covers the entire nail, it is considered the most durable type of coating).
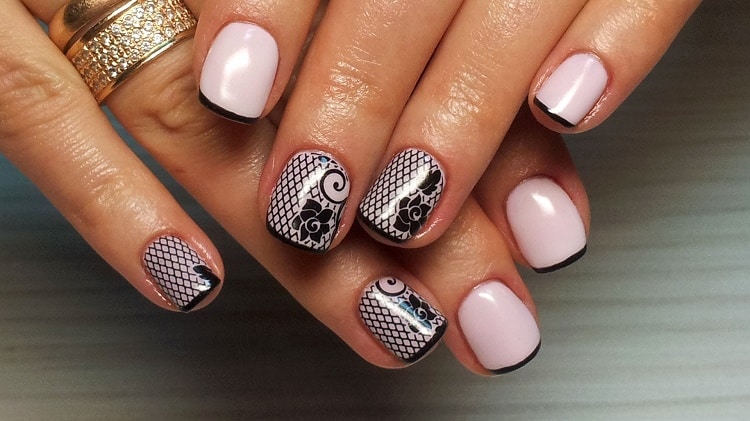
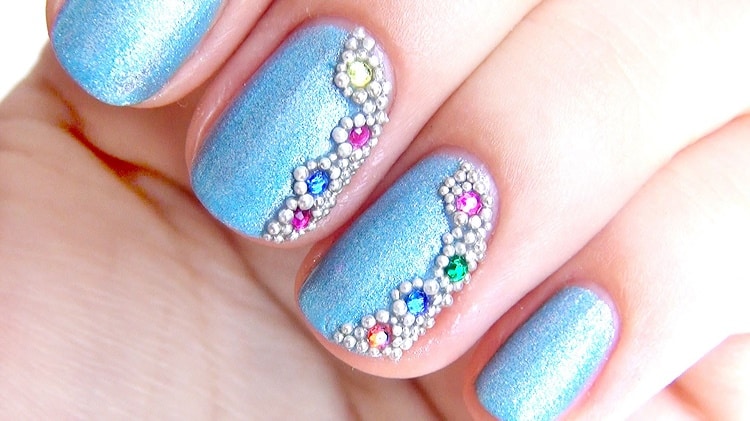
After finishing the decoration with a film, you can complement the design with rhinestones, attach bouillons, foil.
Industry news
One of the modern types of sliders for nail design are thermal stickers or thermal films (in the common people - stickers).
The technology of applying stickers on nails is simple, no different from water stickers. But in order to stick them, you need a special heater (the girls have already learned how to replace this device using a regular lamp or a hair dryer), which activates the glue on the inside of the film.
Unlike water-based nail art sliders, thermal stickers are easier to apply. This is due to the need to wait for the water-based slide to dry completely before curing, while the thermal film can be immediately overcoated with a clear coat.
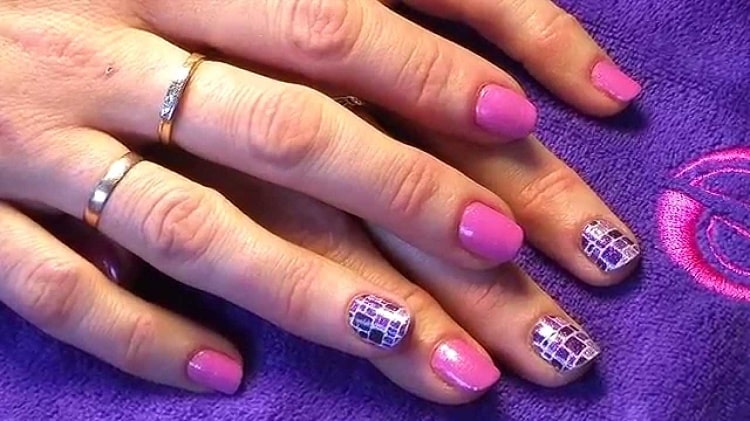
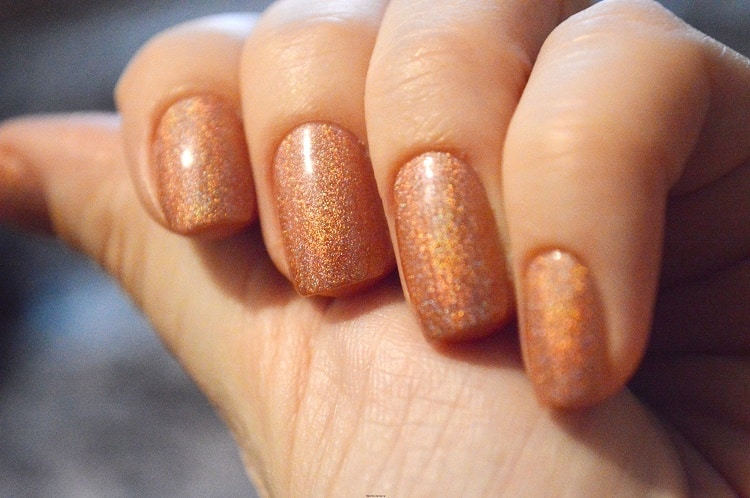
New developments for the beauty of manicure are not limited to sliders. The latest trend is rubbing, which provides an alluring metallic sheen, shimmer or mirror finish.
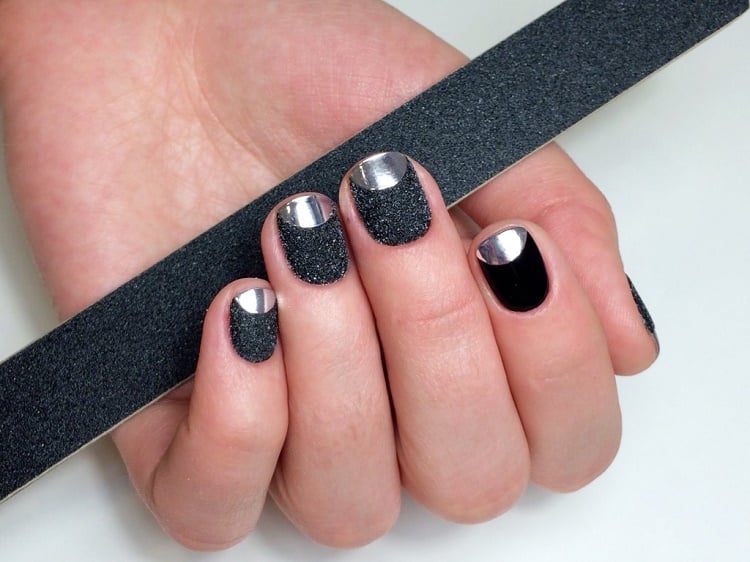
They decorate both the entire nail and selective parts (make three-dimensional drawings and patterns along with gel polish or limit yourself to an unusual jacket with a “smile” at the nail bed or decorating its tip). Easy to apply at home, as well as remove from the nail plate. The only caveat is that you can use the rub if you do a manicure with a gel polish coating.
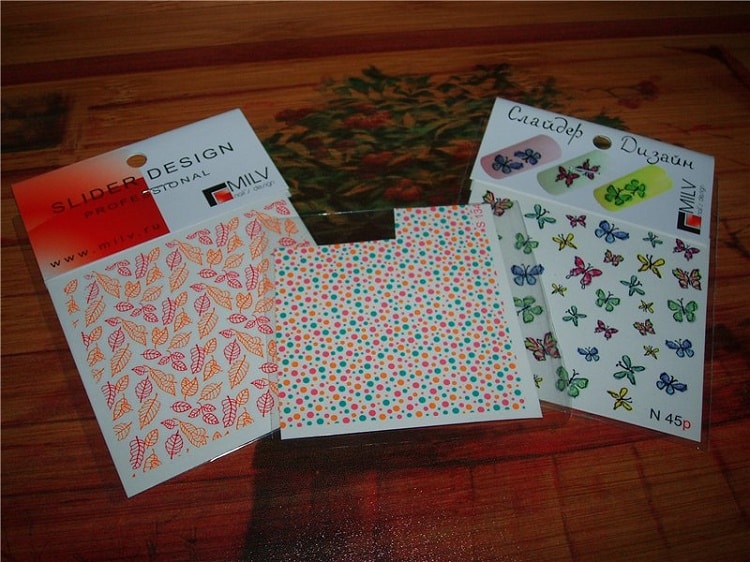
Manufacturer Milv constantly keeps abreast of fashion trends and updates its product range and develops unique designs.
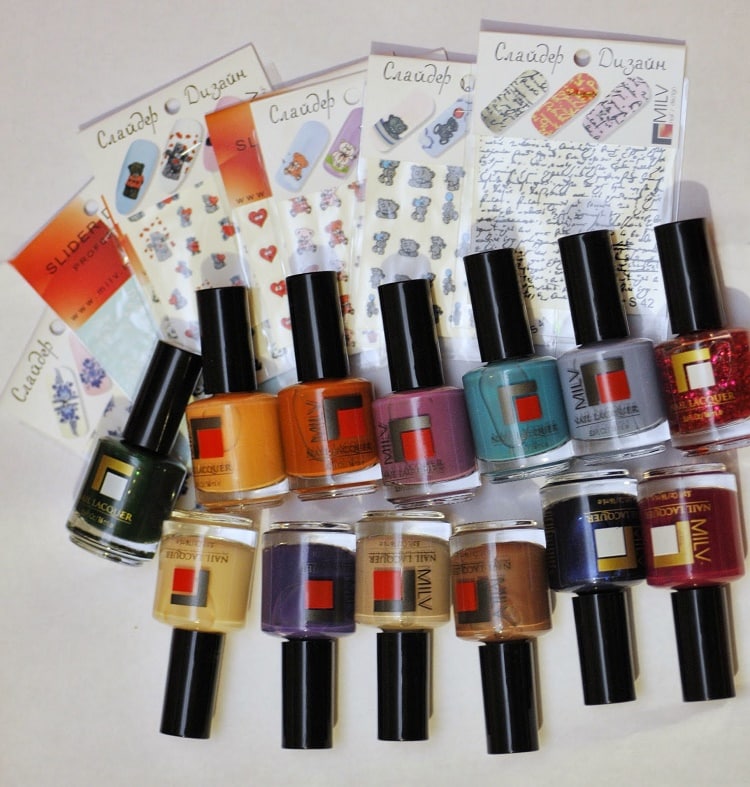
Products from Amy also keep up and surprise the masters of the nail industry. In addition to high quality, the client receives fashion accessories for design.
You can buy well-known trademarks both in specialized stores of the “nails” direction and in Internet sites.
How to use nail sliders?
Deciding to decorate the nails using a design slider, you should take into account the type of base for the coating - a natural nail, extended or coated with shellac (gel polish, biogel).
- Natural nails covered with ordinary varnish are the simplest basis for applying any slider (the type does not matter - even transfer stickers, even thermal film), since after gluing only a transparent varnish is required to fix;
- A manicure with a gel polish, biogel or shellac coating can also be decorated with a nail slider and, after decorating, covered with a colorless varnish.
- Extended nails are designed before applying the final layer. After completing the modeling, transfer stickers or thermal film are applied, supplemented with additional elements (for example, strasik or broths).
Before you start working with different types of sliders, some preparation is required. You need to work not only on the processing of the nail plate, but also on the shape of the slider.
For transfer stickers that cover the entire surface of the nail
The slide blank must be “fitted” to the shape of the nail. The width of the nail plate and the nail bed are taken into account. The length of the workpiece is not adjusted in advance, but corrected after gluing.
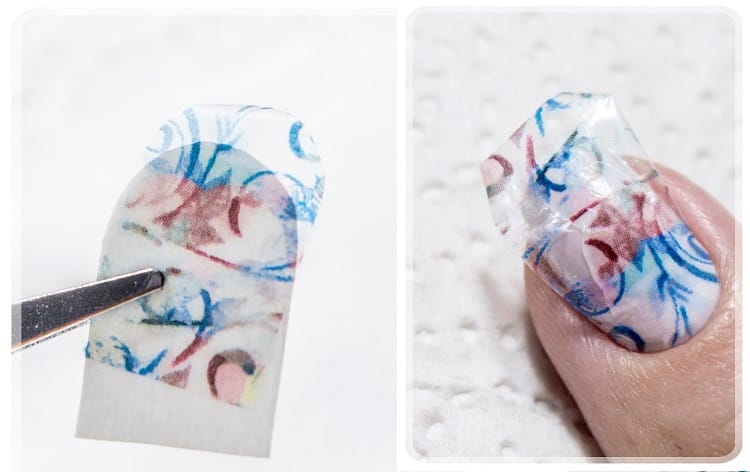
For transfer stickers with a transparent backing
Here it is important to decide how exactly the slide will be covered - partially or completely. With the last option selected, perform the same actions as in the previous case. With a partial arrangement of slides, you should select the area for the location of the picture. Next, the dimensions of the image and the nail are taken into account. The required area is cut out of the workpiece and gluing takes place.
For transfer stickers with a dense picture
Here, the two above methods are combined, but it all depends on the chosen area of \u200b\u200bcovering the nail - in whole or in part.
For high-quality implementation of a slider design, there is a certain technique for applying it step by step. Water stickers last for a long time, it will be possible to change them together with subsequent varnishing.
How to glue sliders on nails?
As mentioned earlier, the process of designing with decals is quite simple. If everything is done in stages, the effect will last for a long time.
Training
Before sticking the decor, it is important to prepare your nails. To begin with, a regular manicure is done (edged or hardware - a personal matter).
- The cuticle is tucked and trimmed, if there is a nail clipper, then it is carefully removed with an emollient. The same applies to the burr - if necessary, bite them with nail clippers. Most of them are on the index finger (as happened in women).
- The nail plate is modeled. If one nail seems to be more regrown than the rest, then it is aligned to the same size. Next comes the nail file. The nail should not have sharp cubic corners, especially if this is not provided for by the chosen shape. The surface of the nail plate is polished.
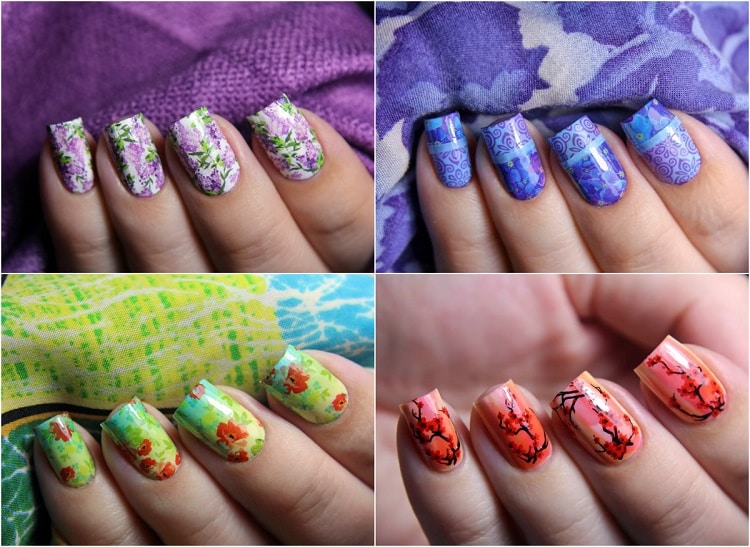
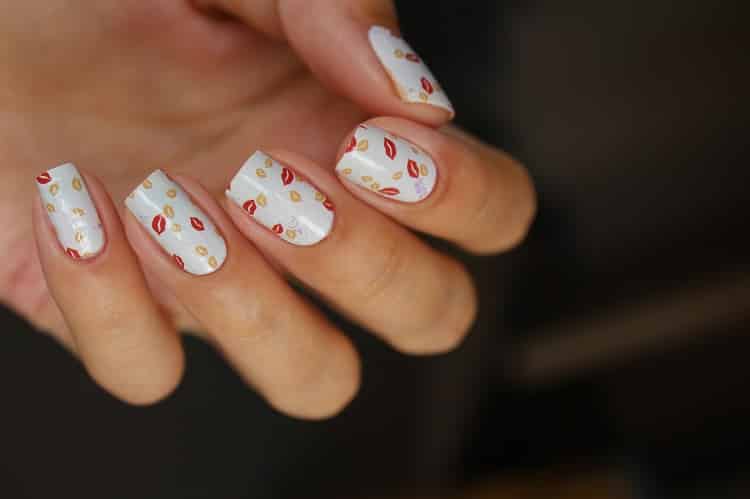
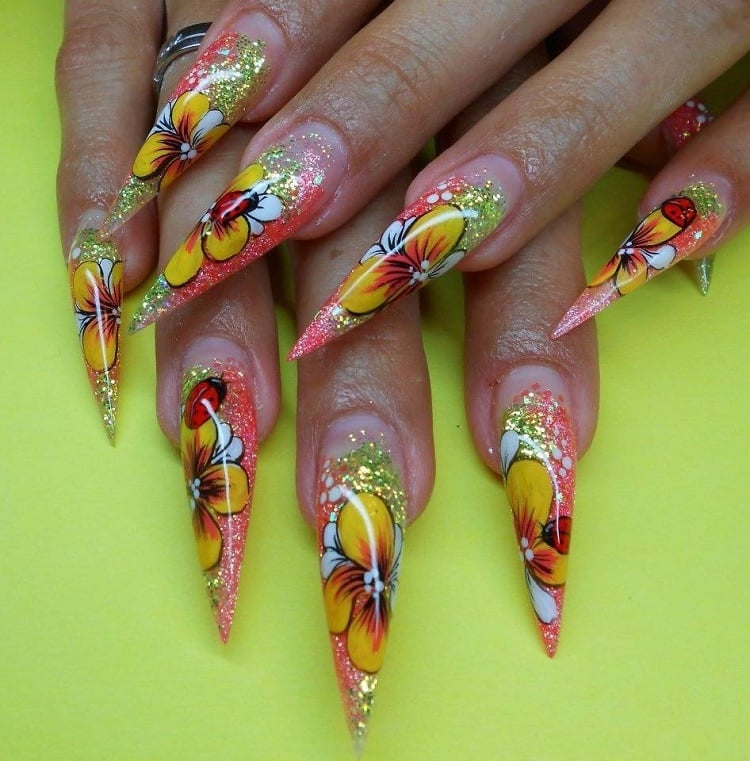
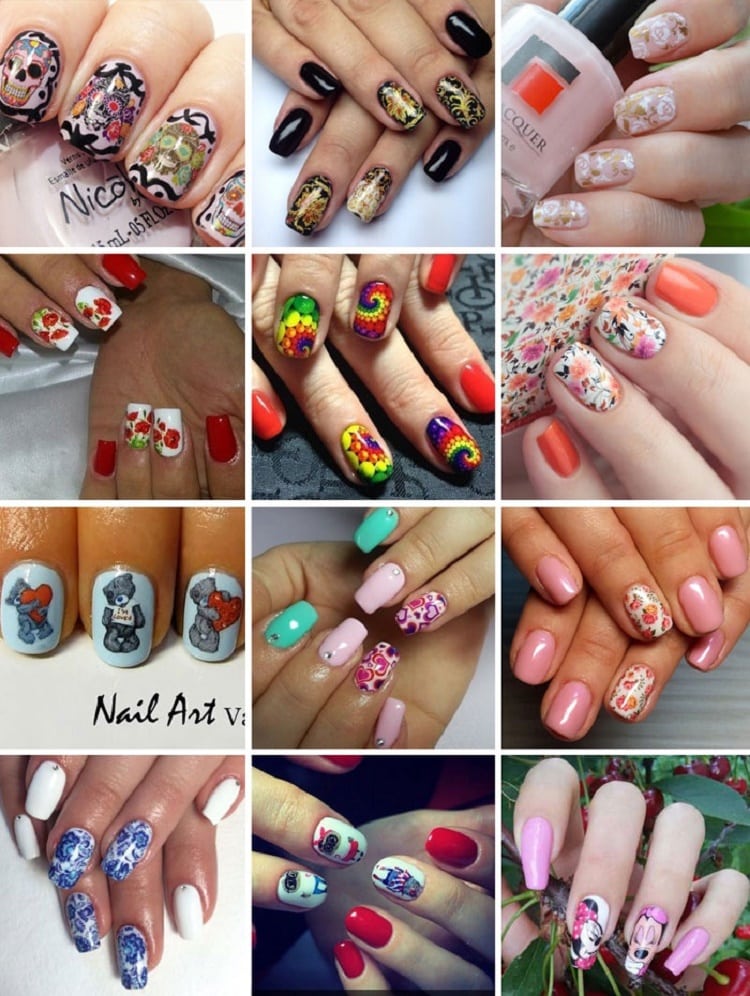
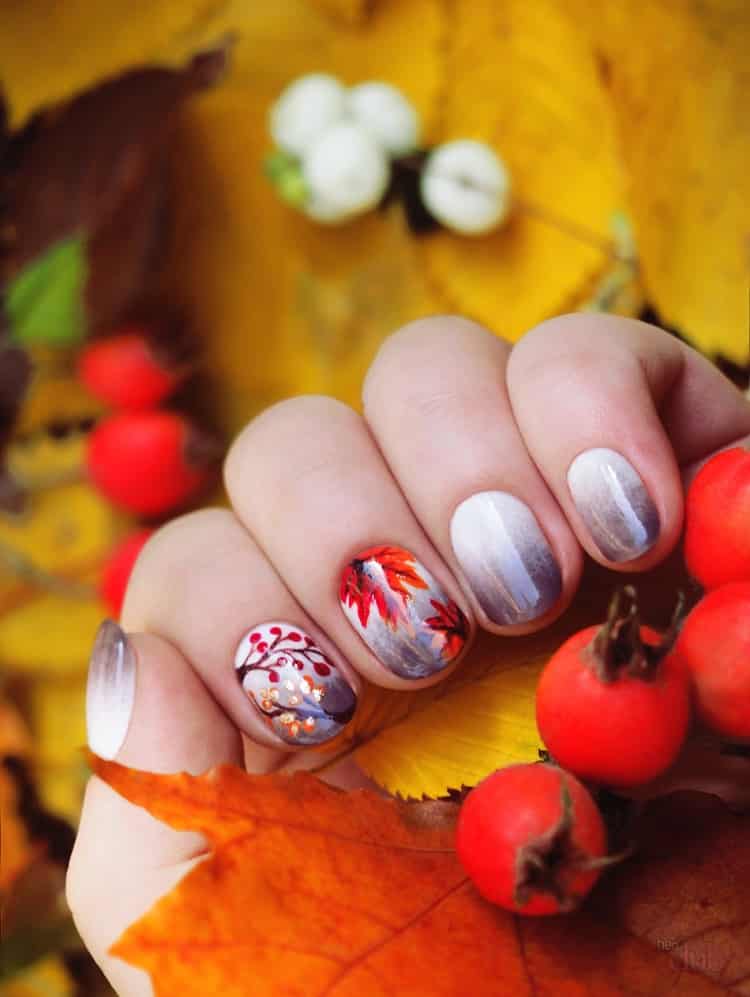
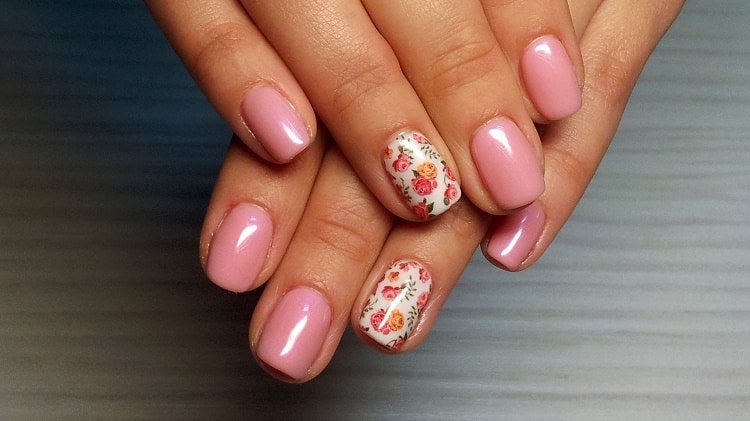
If the design of what needs to be transferred to the surface of the nails has not yet been chosen, it is worth paying attention to the trends that are relevant this year - flowers, geometric shapes, fruits. It is better to choose transparent bases with images so that the main color of the varnish can be seen.
Coating
If the nails are short and the length does not suit, then extension is performed. There are no special format requirements. If you think over the design correctly, then a completely trimmed nail will look very impressive.
- Use a colorless base, cover it in one layer. Choose the desired color of varnish and, after the previous one has completely dried, cover your nails with it.
- If it is planned to cover with gel polish (shellac, biogel), then after putting the nails in order, this can be done and continue step by step.
water stickers
Many manufacturers on their packaging with sliders make sure that there is the necessary instructions on how to use them. On the Internet there are lessons on how to glue slides.
- Prepare warm water in a plate or bowl;
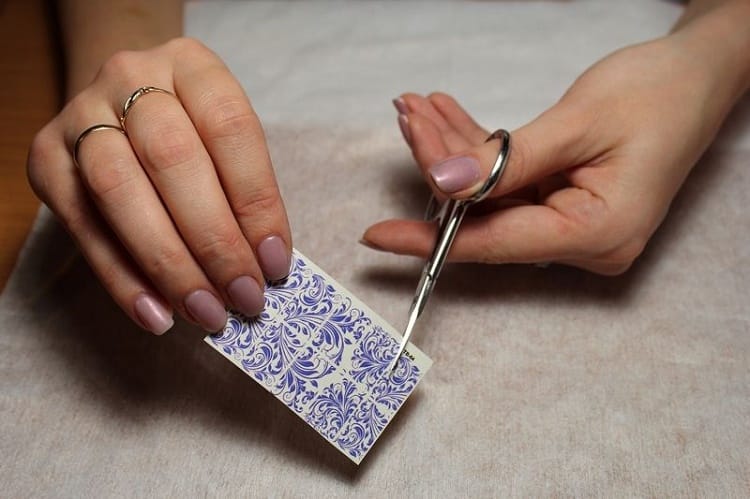
- Cut a slide of the desired shape (depending on the chosen location on the nail plate - in whole or in part);
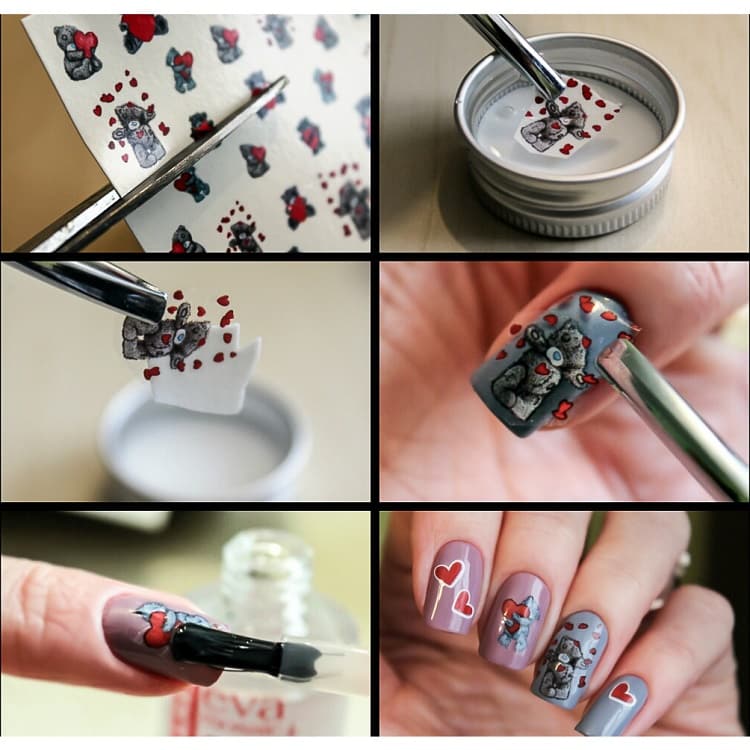
- Dip the slide together with the paper (base) in a container of water for 15-20 seconds until the film separates from the base.
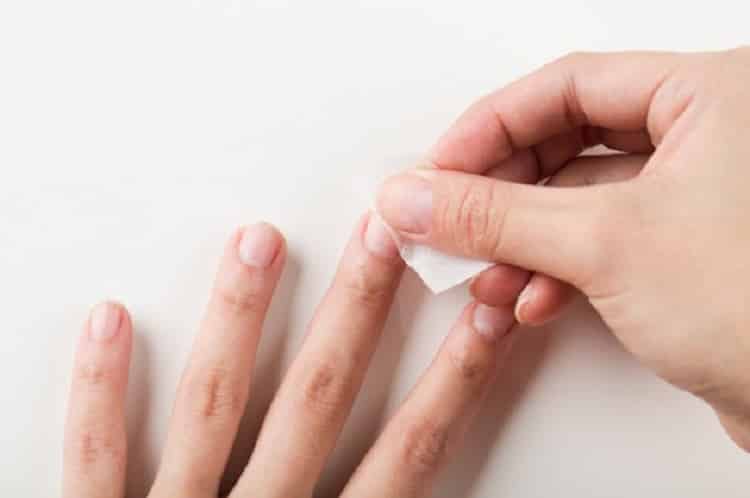
- Take a manicure stick or plastic tweezers (metal can damage the film) and remove the picture from the water.
- It is better to stick first on the little finger, since this finger does not take part in the process, and the film will gradually dry out. You need to attach the sticker carefully, releasing all air bubbles from under it, smoothly spreading it over the nail plate with a cotton swab in the right direction;
- Having decided on the location, press for 5 seconds with a cotton swab (if the sticker is small) or a cotton pad (if the entire nail is completely covered). In this way, excess moisture will pass into the cotton material, and the glue will attach the sticker.
- After the film is completely dry, you need to fix it with a protective varnish.
It is possible for everyone to make a high-quality manicure with a stylish finish, the main thing is imagination and the desire to look irresistible.


