Instructions on how to stick a slider on shellac
Shellac manicure, especially if it is decorated with a stylish pattern, is beautiful, durable and looks stylish. But if you can’t do nail design on your own, and there is no time to visit the salon? Then shellac with a slider comes to the rescue of fashionistas. Consider what a slider is, how to apply it correctly, and what design options can be made with a shellac slider?

Navigation:
What is a slider and what are its advantages
Slider - a thin decal applied to a paper base. Its use when creating a manicure has several advantages:
- Saving time. When it is not possible to visit the master, a slider correctly applied to shellac will look like a stylish drawing.
- Ease of application. Even if you don’t have drawing skills on nails, you can quickly create a stylish shellac design with a slider at home, you just need to learn how to correctly apply the finished picture to the base base.
- Design variety. There are many varieties of patterns that can be glued to shellac, creating your own unique style.
- Doesn't weigh down nails. Slider stickers are very thin, and after applying the final layer of shellac, the nail remains smooth, and the drawing looks like it was drawn with a brush.
- Availability. Nail stickers can be bought at any store that sells professional cosmetics.
What are professional nail stickers
Conventionally, sliders are divided into 3 varieties according to the size and texture of the picture:
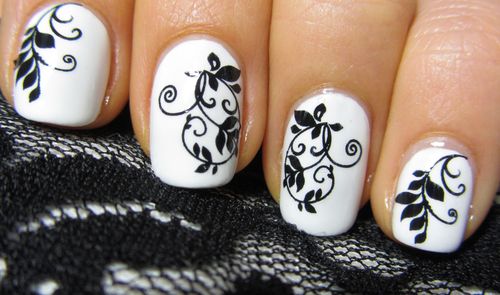
- Transparent sticker. Thin, as if flying lines look great on a light discreet base, but it is better not to glue such a slider on a bright varnish - the picture will be lost. Transparent sliders can be of various colors and have many design options. With their help, you can create any design and even draw interesting pictures on your nails.
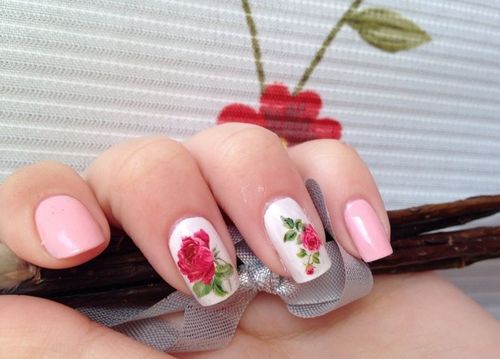
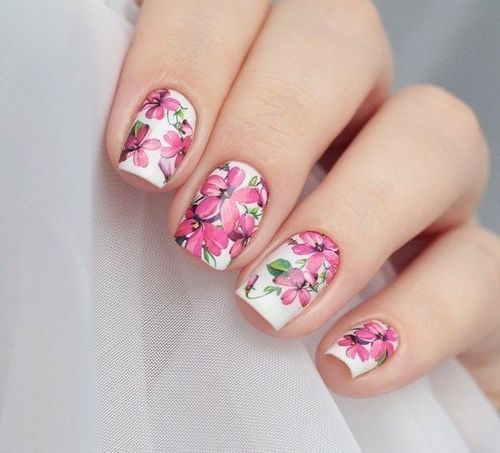
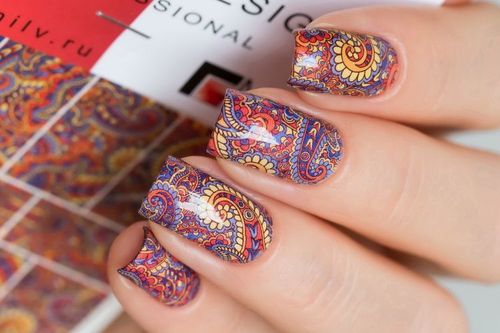
- Drawing on the entire nail plate. This is the easiest option for beginners, when it is enough to stick a picture on the base base, let it dry and cover it with a top coat of shellac. In the photo you can see how a manicure looks like with a slider glued to the entire nail.
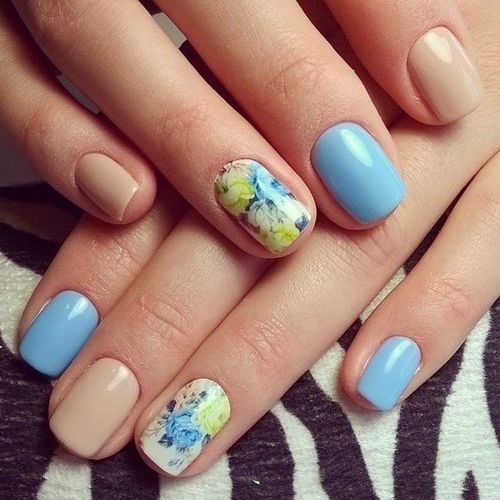
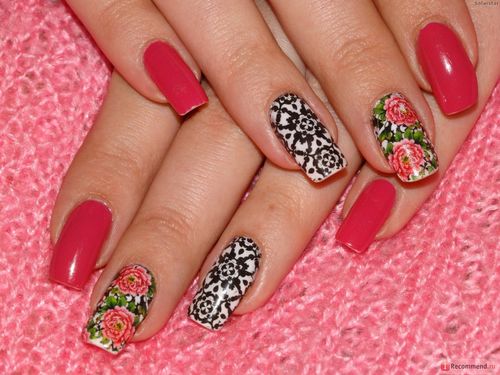
- A picture on a dense basis. Bright figures allow you to create different compositions, they can be glued to the base layer of shellac of any color. In addition to bright decals, you can glue rhinestones, sparkles and other nail decorations. Dense sliders are in great demand among fashionistas, because it is really possible to do any nail design with them - from everyday to festive.

Rules for creating a manicure
How to make slider nail decoration? Are there any specifics on how to paste the picture correctly? What tools are needed for this?
Making sliders on shellac is easy, and of the additional tools (in addition to those used to apply shellac on nails), you only need:
- fine tweezers,
- water container,
- a thin wooden stick with a blunt end.
To stick a slider well, you need to follow the sequence of operations:
- Prepare nails: remove the cuticle, polish the plate with special nail files.
- Degrease the nail and let it dry.
- Apply base coat and dry under lamp.
- After that, you can apply the picture. How to do it? Take the slider with tweezers and lower it into the water for 30-40 seconds, then carefully separate the image from the base. The video shows how to properly remove a decorative picture from a dense base.
- The picture is placed on the nail, its smoothing (if wrinkled) is done with tweezers and a blunt wooden stick. You need to glue carefully, trying not to tear the thin film.
- Once the sticker is dry, it can be covered with a top coat of shellac and dried under a lamp.
Beautiful and stylish manicure is ready! You can learn more about how to apply shellac with sliders on the video.
Manicure errors
Some novice masters complain that the drawing was erased during work or began to peel off for 2-3 days. This happens if the instructions on how to apply the slider on shellac are not followed, or poor quality material was used.
The most common errors include:
- Poor image smoothing. Air bubbles remained under the film, due to which the pattern was erased or deformed during the application of the finishing layer. The photo shows what errors there are when applying a sticker on a nail.
- Insufficient drying of the base layer or slider. This mistake leads to the fact that the manicure begins to peel off a day after application.
Using the slider, you can emphasize your individuality with a stylish manicure. Subject to all stages, the coating on the nails will turn out beautiful, interesting and will last a long time.


