How to learn how to perfectly apply gel polish for work in the salon for a novice manicure master
Lesson number 5: How to properly cover your clients nails with gel polishes
The manicure service in the understanding of the client is hygienic cleaning + coating. You will come across the fact that an appointment for a manicure will be just such a complex, since the thirst for beauty never leaves women and gel polish allows housewives to forget about unpainted nails even with difficult work. We have already successfully studied how to make a salon-quality manicure and pedicure, so this lesson will be devoted exclusively to covering nails with gel polish systems.
The material of the online lesson will teach you:
- Sequence of actions when working with gel polish systems (different brands);
- Proper preparation of the nail plates of the hands and feet, without harm to them;
- Select the necessary tools and tools;
- How to apply the gel so that it is worn for a long time;
- How to apply each of the components;
- How to quickly assemble sets of flowers;
- What you need to know in order for the client to be satisfied with the coverage.
In order to cover the client's nails with gel, you will need:
- coating system (degreaser, base, pigment (gel polish), top);
- liquid for removing the dispersion layer (as necessary, if required by the system);
- UV lamp with timer for convenience;
- orange stick;
- nail file 180/240 (if the free edge was not shaped at the time of manicure);
- buff for the natural surface of the nail (180/240);
- cotton pads or discs;
- a thin manicure brush for painting (made of synthetic fibers, they ideally interact with the gel, unlike natural ones) and decorating materials;
- cuticle oil;
- hand cream.
Types of nail plates - and the corresponding gel structure:
Nails are different in their structure, as is the density of gels, so each plate has its own. To ensure that the coating that you make is worn for a long time and is not damaged, match the gel and the plate, then the result of wearing will also be perfect. If you talk to your client, she will tell you that the different masters she approached, using different brands, gave different results. It is a mistake to think that the same gel suits everyone. It's all about the density of the nail.
- she is not thin and not thick, rarely exfoliates, quickly recovers and grows, it is a pleasure to work with this type. It has a light, uniform, but not transparent pinkish tint, which means that the body has a sufficient amount of vitamins, the diet contains mainly health benefits. It does not require special nuances, standard approaches are ideal for it. Gels of all densities, including glitters, will be worn well on it. 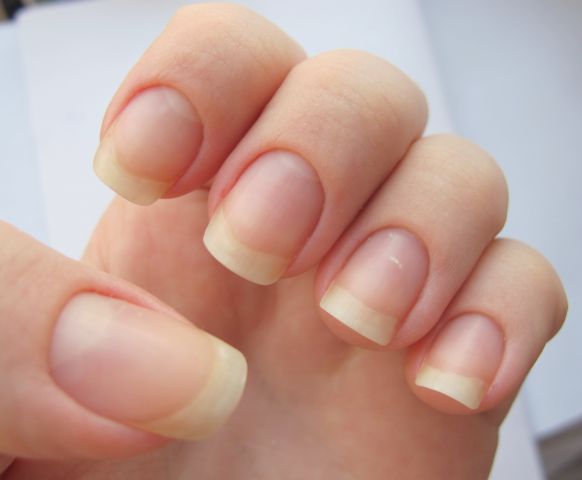
- brittle, bends when touched by any force. It has a translucent uneven color with a pinkish or beige shade. Most likely this condition is due to vitamin deficiencies and weakened immunity. For this type of nail, you should not use too hard gels, it is better to use medium-dense or soft ones. Since the nails are flexible, they are easier to separate from the coating from the slightest touch (for example, when washing dishes, if you help to remove the remains from the plates with your fingernail), as a result, the nail will be broken and the coating will be chipped. But if you take a gel that will slightly repeat the movements of the nail, then its sock will be 2 times better.
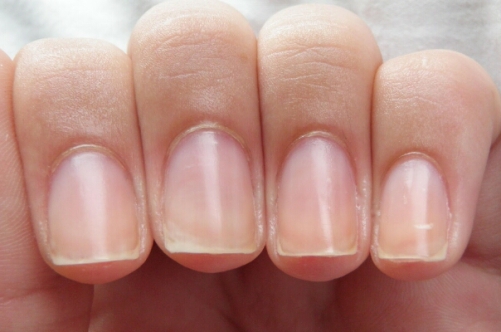
Dense nail plate- strong, usually grow quickly, bend with difficulty. They have a pink color along the plate and a slight yellowness along the free edge. Sometimes such a seal is caused by hormonal disruptions, but not a fact, perhaps this is a normal condition of the nail. All dense and medium-density gels are also suitable for such nails, but soft ones that repeat flexibility - no, they are worn in interaction with this plate for absolutely no long time.
![]()
How to learn how to perfectly apply gel polish for work in the salon for a novice manicure master
Choice of coating gel system:
First of all, decide on the company of the material you want to use. Of course, I will note that it would be great if you have several types. But the first time, when you are just learning and perhaps still limited in the budget for the purchase, opt for a medium-dense composition.
I will definitely do a wide review of gel polishes, but a little later. Now I will share my experience of choosing when I just started working.
UV varnishes are divided into varieties (number of layers):
- 3 phases (Base, Gel Polish, Top);
- 2 phases (Gel Polish, Top);
- 1 Phaznik (Gel Polish).
I formed my first palette like this (I always choose 3-phase):
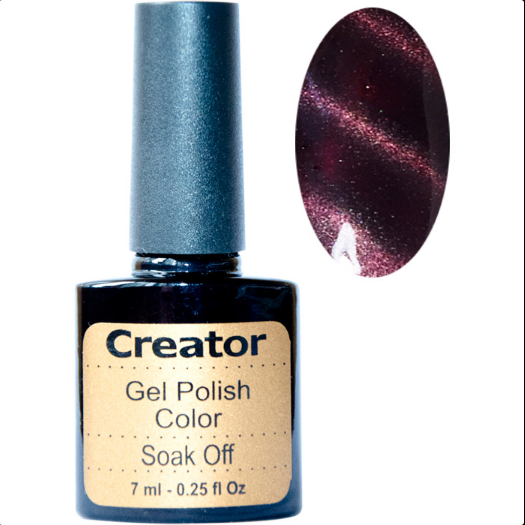
- The first brand that I purchased was Creator. Produced in the USA. In terms of density, it is the golden mean, that is, it is almost universal. Each layer is baked for 2 minutes. Its price is quite economical. Since I did not have a large contribution, besides, I was just studying, I decided that as a training session, it fits in all respects. My first palette was 10 colors. And I have not regretted my choice. Combines with other brands, in case his base or top runs out at the wrong time fit Gelish and vice versa.
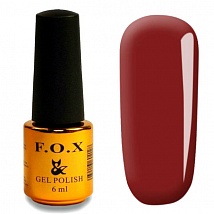
- The next brand is Fox. I added another 15 colors to my palette with it. USA manufacturer. This brand is suitable for thin nails, just what I needed. By the way, on a normal type of plate, it is also good to wear. Each layer is baked for 2 minutes. Doesn't mix well with other brands, its wear depends on the degreaser, wears better with those that leave a stickiness rather than just evaporating. Its cost is higher than the creator, but not significantly, it belongs to the premium class. It does not give the nail a special density, but it is worn for a long time.
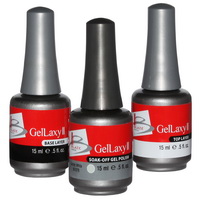
- To these I added several shades of Blaze GelLaxy. I only bought 5 flowers. It is very dense and thick, for compacted and normal nails. Each layer is baked for 2-2.5 minutes. It is also produced in the USA, it is one of the premiums that appeared first, I could not help but buy it. Coating with Gelish system possible.
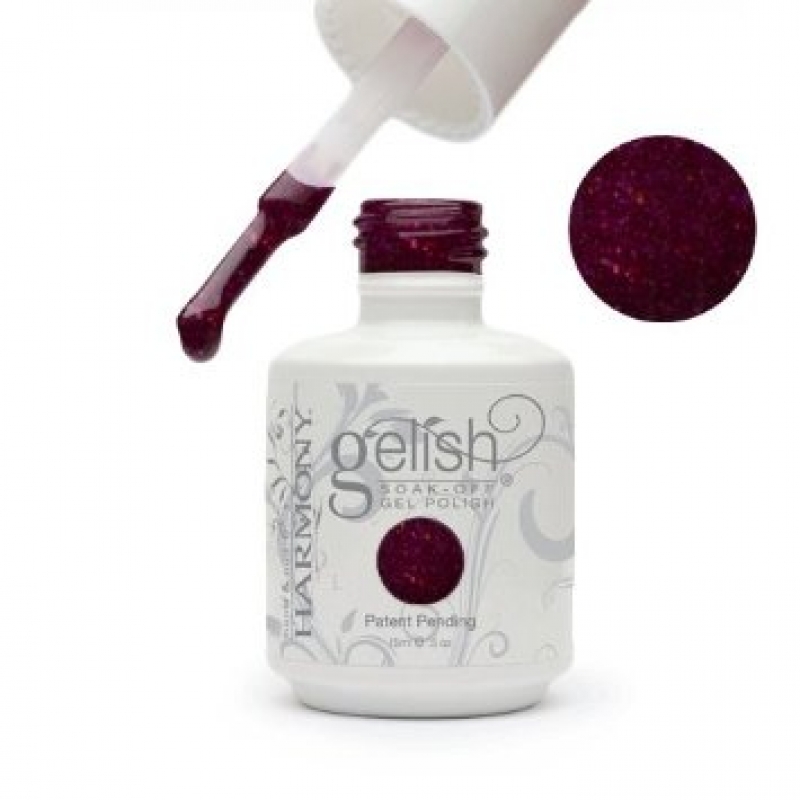
- Gelish lacquers finished off my varied plank. Belongs to the premium class. USA productions. Universal, medium density allows you to cover any plate with it. The cost is above average, but corresponds to its quality. Each layer is baked for 2 minutes.
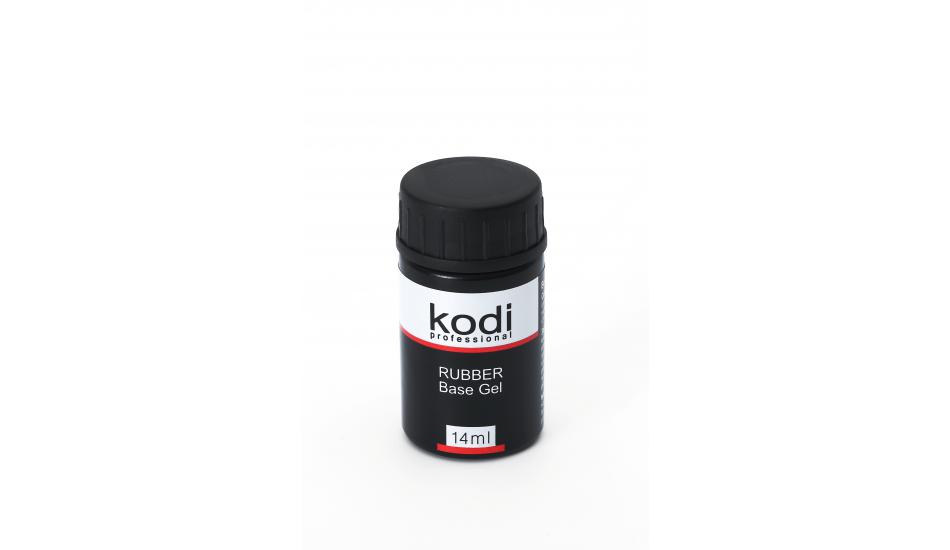
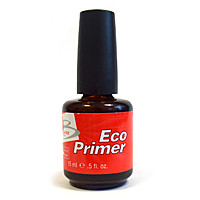
- As universal foundations, I chose the base from Kodi (it usually takes 2 minutes to bake) and a primer with a sticky layer from Blaze. Gorgeous in wear and application, they guarantee impeccable adhesion, they were used at the same time.
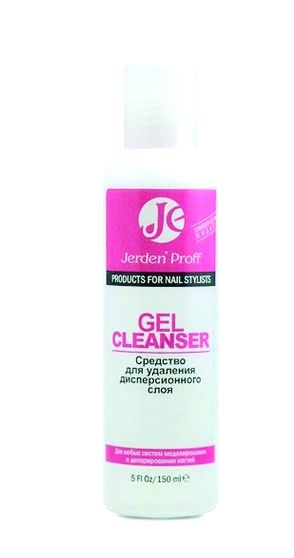
- To remove the gel and the dispersion layer, I used Jerden Proff Gel Cleanser liquids. They work perfectly and are inexpensive.
My strategy was simple, I had to meet the budget, start doing as many services as possible in order to earn, develop and gain experience. Therefore, I chose a gel polish of good quality, bought system products for it (bond, top, base) in several primary colors. Started learning and working. At the same time, I also bought materials for building, but here I did not save, I chose expensive ones that corresponded to the price with quality. This is how I achieved my goals. As soon as the work of a manicurist began to generate income, I replenished my stocks with new products + systems for them. All this is not cheap, so buy the basics and a couple of shades, replenishing them over time. So I created for myself a diverse palette suitable for everyone, which was full of colors.
How to present your palette of gels to clients?- for this, make a tablet, you should not constantly spin the gels, it spoils them.
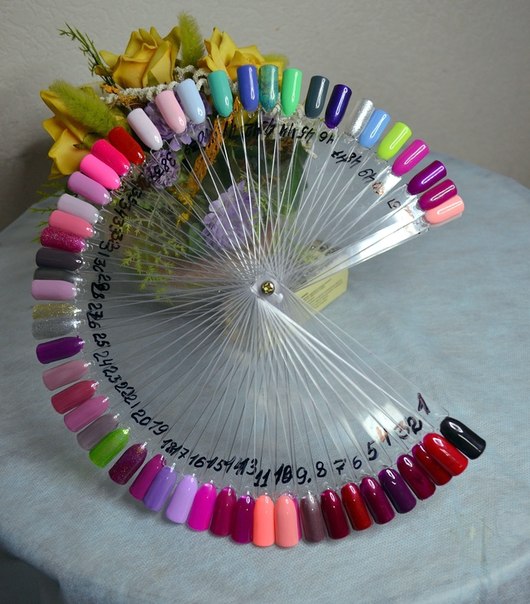
Tip: It will be economically beneficial for you if you distribute your palette by cost. For the client, this is another point of concern, so you show care for each client, both for those who can afford expensive brands and for people with modest abilities. Feel free to explain what the price difference is, but do it right. For example, say that the varnish, the coating of which is the cheapest, is not inferior in quality, almost corresponds to the expensive one, but the purchase price is slightly lower, although there is still a difference in the coating - this is gloss and brightness. This approach is working, customers will be satisfied, and your capabilities in diversity as a master will once again impress them.
How I choose gel polish, my methods are:
- The first thing I notice is the smell. A quality product smells pleasant or neutral, if the smell is too poisonous and resembles plastic, most likely you will not be satisfied.
- I look at the ingredients. The question here is not density, but consistency, it should be homogeneous (if it is one tone or mother-of-pearl, sparkles can settle - this is normal), then there should be no lumps, it should be optical, so pay attention to how the gel flows by brush. IMPORTANT: remember, gels tend to stagnate, they also have an expiration date, so be careful not to buy settled. Try to shop in well-known professional cosmetics stores, there are a large number of visitors, so they do not have time to stagnate.
- Consider the tablets, how this composition lay down on an example. Usually in stores they are covered by consultants themselves.
- Personally, I like American-made gels the most.
- Base, top, bond (primer) try to buy separately for each gel. But I have universal ones.
Learn how to professionally apply gel polish on the nails of the hands and feet
Classic technique, suitable for all brands - step by step instructions:

Two people will be happy with the result - you and the client, who will definitely return again. The main thing is not to neglect the rules, train more. Soon you will learn to feel each material and understand how to work with it at a glance.
Nuances:
- If you did a manicure before coating, then it should end with the removal of the cuticle, without moisturizing with oil and cream. Immediately after hygiene procedures, feel free to start applying the gel.
- If the client came just to cover her nails without manicure, remove the old varnish, let them rest for a couple of minutes. Correct the shape of the free edge of the nail and apply the gel according to the instructions.
- If the client wants a design, then place it between the Pigment Thor layer.
- On extended nails can be applied without a base, if there is no regrown part of the natural nail, otherwise the base should be.
In the next lesson, I will teach you beginners how to make incredible designs for your clients and attach decorations to nails.


