How to glue sliders on nails
 Today it has become so important to make gel polish that the girls have almost forgotten about the problems with their nails. There is really only some disadvantages that still pop up in this seemingly beautiful solution. For example, I notice that after several sessions of applying gel polish, my nails still deteriorate, so I prefer not to wear gel polish all the time, despite the fact that there are no problems with it and you can not bother that it somehow peel off and your nails will not be beautiful.
But today I don’t have much other information for you, this is how to properly glue a design slider on nails, and what it is all about.
"Slider" is a picture,  applied on a special film, which is easily glued to the nails. The slider is initially located on the base, which is removed before use. Translated from English, the term "Slide" is translated as "slide" "slide", this is exactly what they do with the picture, removing it from the base
Camouflage ultra-base for gel polish VOGUE
There are several types of sliders. There are three main ones among them:
- Sliders that completely cover the nail plate.
- on a transparent basis.
- Dense pattern on sliders.
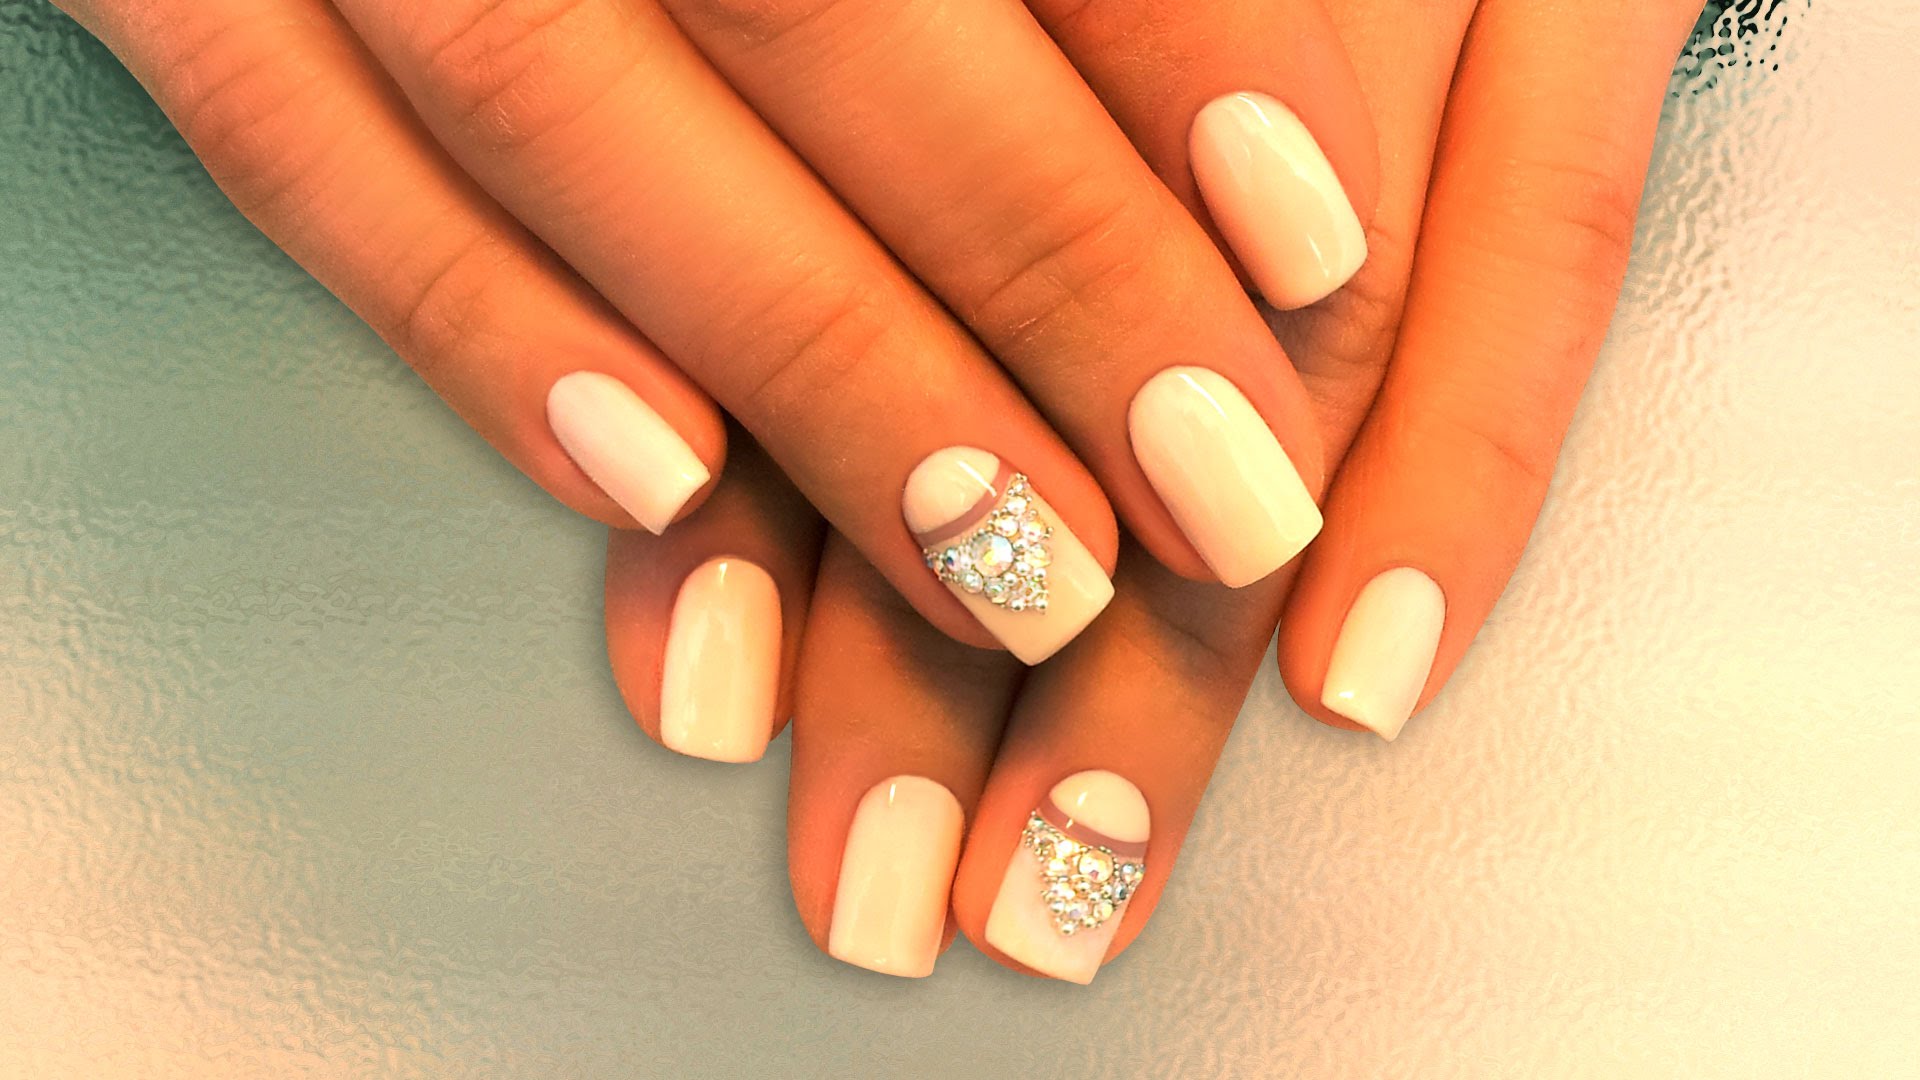
Full nail sliders
This type of velcro is the easiest to use. As a result, the picture will cover the entire nail plate, it is fixed on top with a transparent varnish. The base can be a varnish of any color, often it does not matter at all. This type of transfer stickers is the most durable, its shelf life is usually about two weeks.
On a transparent basis
Such slider designs look best on a white background. Although there are some patterns that will look contrastingly on other matte shades. A manicure with sliders on a transparent film is very bright and expressive, contains many small details.
With a dense pattern
Applying a solid patterned slider to your nails is a very popular method to transform your nails. Drawings can be varied. You can move whole pictures onto your nails. Any varnish can serve as the basis for such drawings, it does not matter at all, because such a picture will tightly cover any base. For beauty, sequins, rhinestones, and beads are often added to such slider designs.
How to work with translation sliders: instructions
 The following describes the possible options for stickers "decals" on the nails in different combinations with different bases. A slider design for nails is superimposed on any base applied to the nails. It can be bio or shillac, the base can be bio-gels, it can also be extended acrylic or gel nails. In addition, you can cover your nails with regular varnish or just with a protective base and stick sliders on top.
How to glue sliders on nails (step by step instructions):
- Choose the slider pattern that suits you and the color of the base, in harmony with the picture.
- Pour water at room temperature into a small container. In order to carefully separate the slider pattern from the base, it is lowered into water and held for a minute, no more.
How to apply sliders on regular polish
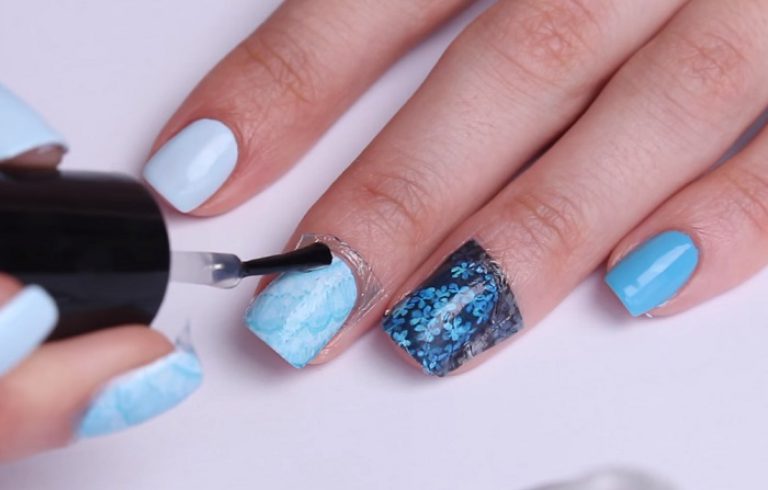 Glued sliders on regular varnish
If you are a beginner nail designer, this technique is just right for you. It is easiest to glue the slider at home on an ordinary varnish. To do this, follow the instructions below:
- Choose the slider pattern that suits you and the color of the base, varnish, in harmony with the pattern.
- Your hands should be manicured and your nails neatly filed.
- Prepare the following tools: tweezers / orange stick, fixer, cotton swabs, pusher.
- With small scissors, carefully cut out the pictures you need and cut them to fit your nails.
- Pour water at room temperature into a small container. In order to carefully separate the slider pattern from the base, it is lowered into water for no more than a minute.
- Polish your nails twice and dry them very thoroughly.
- Place the slider pattern separated from the base on the nail plate, smooth it with an orange stick, wait until it dries completely and cover it with a layer of transparent varnish.
Under gel polish
If you have a special lamp at home, mastering the technique of sticking sliders on gel polish is not  will make a lot of work for you. When placing sliders on the gel, a big advantage is the duration of operation of such a manicure. The protective layer of the gel will firmly fix the decal and help it last much longer than on a regular varnish. The technology for applying the slider is simple:
- Choose the slider pattern that suits you and the color of the base, gel polish, in harmony with the pattern.
- The hands should be neatly manicured, and the nails neatly filed.
- Saw off the top glossy layer so that the gel-covered nail plate becomes a little rough.
- With small scissors, carefully cut out the pictures you need and cut them to fit your nails.
- Degrease your nails with a special tool.
- Dry the first coat of gel polish thoroughly in the lamp.
- Place the pattern carefully separated from the base on the nail plate, smooth with a cotton swab.
- Coat the slider with another layer of clear gel and dry thoroughly. Wash off the sticky layer from the nails.
When building
Extended nails can become the basis for drawings on sliders. In this case, the procedure will be as follows:
- Choose the color of the slider that suits you.
- Remove dust from extended and filed nails.
- With small scissors, carefully cut out the pictures you need and cut them to fit your nails.
- Pour water at room temperature into a small container. In order to carefully separate the slider pattern from the base, it is dipped in water for a minute, no more.
- Place the pattern carefully separated from the base on the extended nail. It is important to remember that you cannot change the position of the pattern or move it on extended nails.
- Coat the slider with a layer of clear gel and dry thoroughly.
Why Sliders Can Peel or Peel Quickly
If you glue pictures-sliders using all technologies, they will decorate your nails for quite a long period. Failure to comply with any technology leads to a quick loss of the slider or peeling of the pattern on some nails. Also, one of the reasons for the fragility of the slider design on the nails may be defective material.
To keep the stickers longer, be sure to cover them with a colorless layer of varnish or gel on top and dry thoroughly, if necessary in a special lamp. You also need to dry the base on which you will glue the sticker well. You also need to carefully align the slider on the nail plate so that it is smooth and does not catch on anything. All these points are important for the preservation of your creativity for a longer period.


