How to make matte shellac nails: manicure design photo
A new word in the design of nails - matte shellac - is rapidly gaining popularity due to the freshness of the solution and the ability to create an attractive unusual design. This is a good quick option to diversify the manicure, suitable for any image of a girl.

Shellac itself is a hybrid combination of abrasion-resistant gel nail extension and a simple decorative varnish. This is a household name for all types of color coating, derived from the name of the first line of Shellac pigmented gel polish of the famous American brand CND. A variety of colors allows you to make any coating, including black, without the usual mirror shine, as in the selection of photos.
Navigation:
Design Features
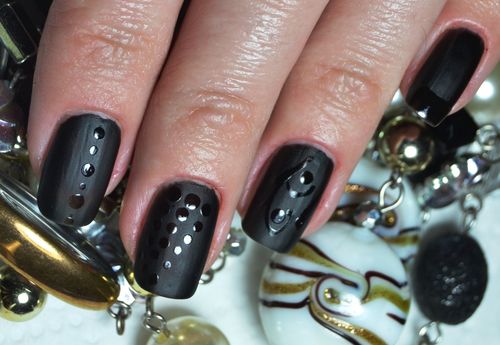
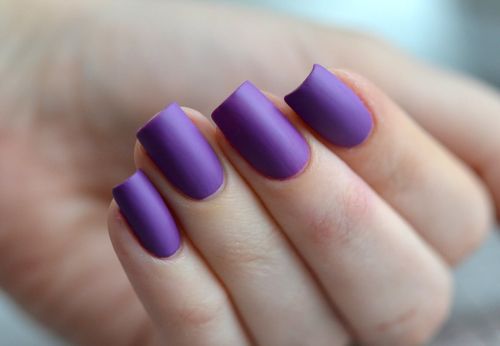
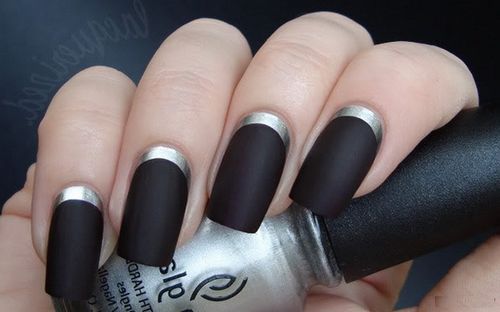
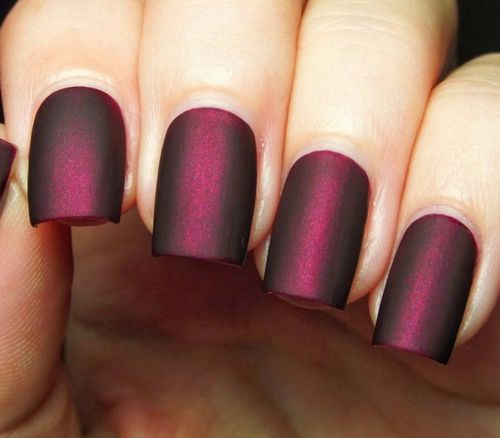
Matte shellac nails look most impressive in dark rich colors, emphasizing their unusualness. In salons, they use it not only as a standard nail coating, but also achieve a new effect, combining shine and velvety, muffling bright manicure details with it, creating an elegant pattern. It is very popular to combine different textures of the same shade, especially dark or black, an unusual jacket with a glossy edge, as in the photo.
Advantages and obvious disadvantages
Beautiful and resistant matte shellac has its positive aspects in the form of:
- great opportunities for interesting non-standard decor;
- a large assortment of flowers from manufacturers of various prices;
- ease of application and removal of the coating, allowing you to do this manicure even at home with minimal experience.
Among the disadvantages of velvety gel polish, it is worth noting:
- has the ability to emphasize the defects of the nail plate;
- requires consistent adherence to technology in order to last a long time without damage and cracks;
- at the slightest flaw, the nail will have to be completely redone.
Options for obtaining a velvety effect
There are several ways to make matte shellac. Some of them are quite acceptable in home manicure:
- A matte top from one of the well-known companies shown in the photo, which allows you to make any color design without a glossy sheen. Sold ready to use, absolutely no complex techniques required.
- A special finished matte varnish offered in every shellac line. For greater effect and durability, the masters apply a fixing top with similar properties on top or, conversely, glossy, creating an unusual visual pattern.
- Applying a special acrylic powder to a shiny base, which does not change the color of the coated nail and allows you to use ordinary shellac as a base or substrate. It is this technique that allows you to achieve a voluminous non-standard design of patterns, which is most often used by nail service specialists.
- A steam bath used in home manicure conditions, but significantly deteriorating the quality of even a very good pigment. After applying the base and colored varnish according to the usual scheme, fixing the result with the usual top product, the nails should be held for several seconds over boiling water, thus creating a haze.
- The use of a grinding abrasive file, which carefully removes the thinnest layer of the upper fixative and gives the desired roughness.
At home, girls try to replace acrylic powder with corn starch, mixing it with a coloring pigment, achieving a rough surface without shine.
Step-by-step application of products and creation of a velvet surface
To perform a matte shellac design, you need to purchase the necessary tools and compositions:
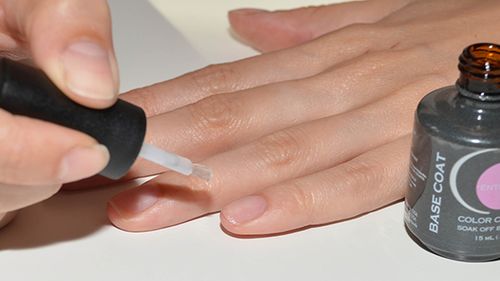
- high quality base coat
- matte top;
- ultrabond to help degrease the surface;
- colored gel polishes;
- buffs of various hardness;
- drying lamp.

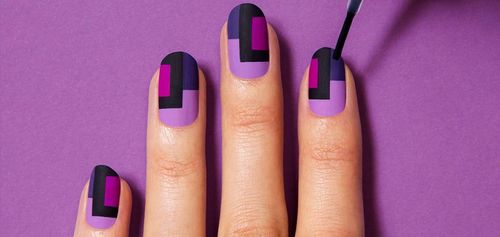
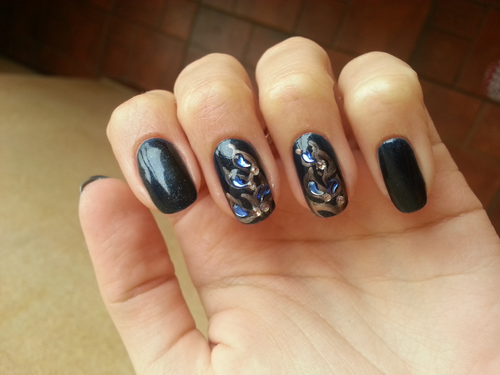
If a pattern is supposed to be made, you can add rhinestones, foil, stencils and other decorative elements to the set.
The work should be done in this standard sequence to achieve excellent results and good durability:
- Prepare nails: buff the surface with a buff, give the final shape, push the cuticle as far as possible.
- Degrease by applying a special ultrabond.
- Put the base in a thin even layer, be sure to seal the edge of the nail plate. Dry completely in the lamp.
- Apply the shade of shellac desired on the palette, trying to avoid wicking, gaps and strokes, not forgetting the edge processing. Dry thoroughly.
- Secure with a matte top, holding under the lamp long enough to achieve durability in the sock.
- Carefully remove the sticky top layer with a professional tool or wipes. Lubricate cuticles with emollient oil.
If the method of roughening with powder or acrylic dust is chosen, then it is placed on the painted prepared nails with a fan-shaped brush, dried with a lamp. Then carefully brush off the excess with a clean brush.

If you make a beautiful pattern, for example, in black, covered with such dust, you can get a stunning volume and a stylish combination of gloss and velvet even on natural short nails.
Matte shellac, as in the photo, is quite simple to make by watching a good video. The main thing is to follow simple rules and do a manicure without haste with the mood.


