Cat's eye manicure: execution technique
The semi-precious stone of the cat's eye attracts jewelry lovers with shimmering tints. The magical radiance of the stone today can be transferred to your nails. To do this, you only need a magnetic varnish of the Cat Eye series and knowledge of manicure technology.
Tools and materials
To create a manicure you will need:
- standard brushes, sticks, nail scraper;
- nail file-buff;
- Ultraviolet lamp;
- base for varnish;
- magnetic varnish;
- magnet from the set that comes with the varnish.
Nail preparation
There are several nuances of preparing the nail plate for a cat's eye manicure. In order for the magnetic varnish to lay down in an even layer, proceed as follows:
- Align the length of the nails, give them the desired shape.
- We remove the natural gloss of the horn plate with a buff.
- Shake off the dust with a soft brush.
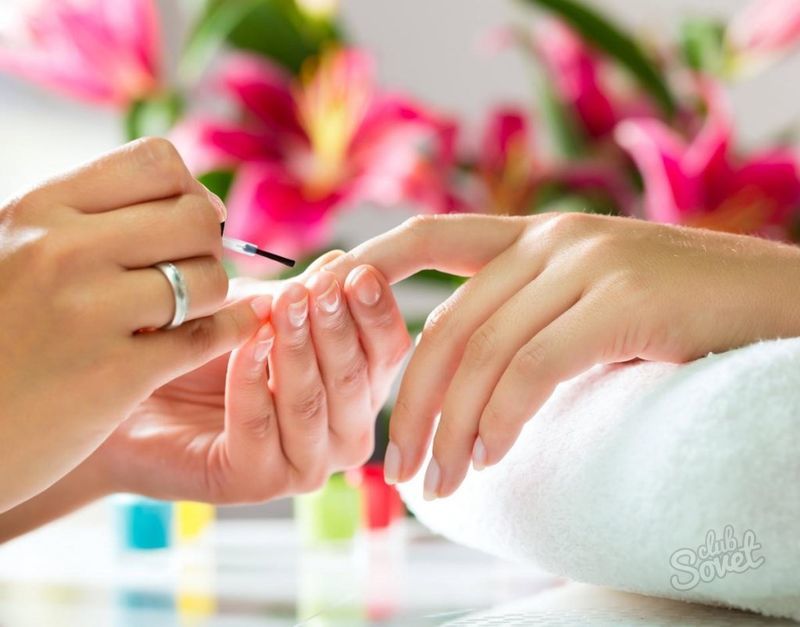
- With rubbing movements, we seal the edge with a base under gel polish or regular enamel.
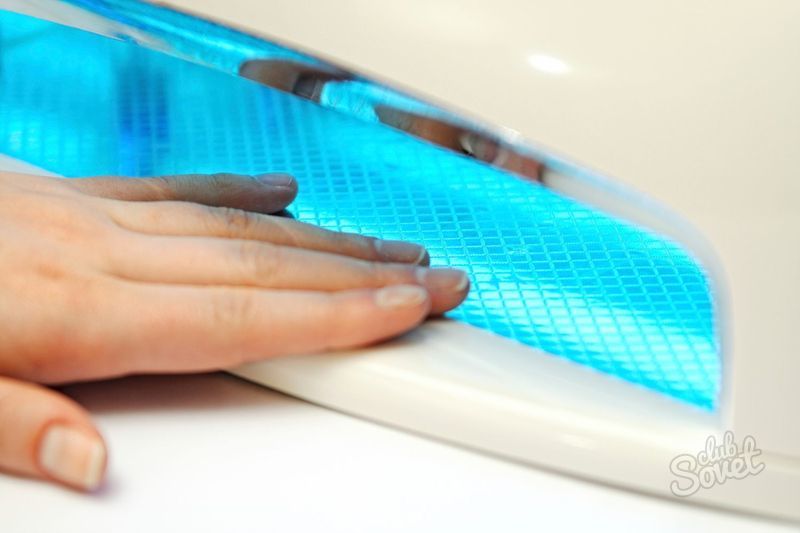
- Dry in the UV lamp tank for 1.5 minutes (in the case of gel polish).
- Brush off the sticky layer from the surface.
The preparatory stage for these simple steps is completed, then we master the cat's eye manicure technique.
Choice of cat eye polish
Magnetic varnish refers to the "smart coating". It consists of tiny metal particles, which, when creating a pattern, are affected by a special magnet. They are drawn to the magnet, and the drawing is deep and takes on the properties of a 3D image. Many cosmetics manufacturers have a series of Cat Eye polishes, and the choice of shades is huge. Look for amazingly beautiful coatings among offers from Pupa, Limoni, Dance Legend, Masura, Golden Rose. By the way, the shape of the magnets attached to the varnish can be variable - from spirals and gratings to arbitrary wavy lines. For a cat's eye, only a strip of 1-2 mm in width is required.
Important! A cat's eye manicure is done for each finger in turn.
Manicure with gel polish
The magnetic composition is applied with the usual movements from the "heart" of the nail plate to the edge. The first layer of the product is dried in a UV lamp and the sticky surface is pulled off with a brush, like a base.
The most interesting thing happens on the second layer:
- We distribute the varnish on the nail.
- We don't wait for it to dry.
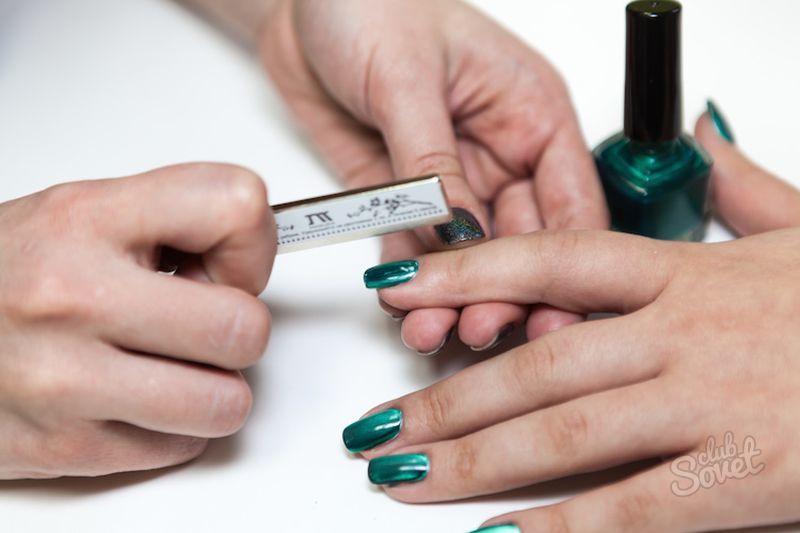
- We bring the magnetic strip to the middle of the horn plate at a height of up to 5 mm.
- Hold for 20-30 seconds.
- We look at how the cat's eye pattern is formed.
- Dry for 1.5 minutes in a UV lamp.
- We love the result.
Manicure with regular magnetic polish
If you take a regular varnish that dries without UV radiation, then the process will be reduced in time by a factor of three:
- We apply 2 layers of magnetic composition to the base coat. Sometimes 1 layer is fully thick, depending on the brand of product.
- We take a magnet and hold it parallel to the nail for 20-30 seconds.
- We are waiting for the coating to dry.
This option will last less, but make it easier. You can change the shades as you like. For example, 2-3 times a day! After all, it's nice - when the color of the varnish sets off, complements or contrasts with a carefully thought-out outfit.
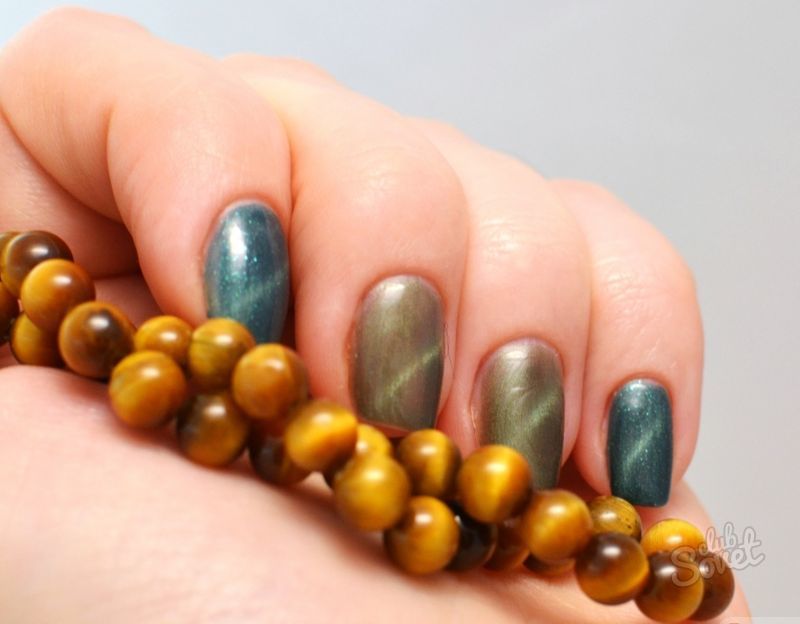
With a catastrophic lack of time for a complex masterpiece of nail art, a cat's eye manicure can help out in difficult times. Each one will become unique with a smart magnetic varnish - the radiance of the stones and the 3D depth will impress your friends, relatives, and others.


