Snowflakes on nails: photo of a stylish New Year's manicure
Regardless of the season, girls always want to look perfect. Without the image will not be complete. In winter, when it is cold and bored outside, intricate ones help to cheer you up. In addition, no one canceled the New Year holidays. What to think of to look like a real queen? You can find a lot of amazing ideas, and we will show you one of them today. In this article, you will learn how to draw airy and charming snowflakes on your nails.
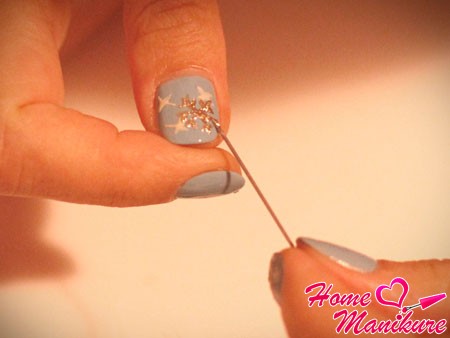
Drawing snowflakes with a needle
Drawing snowflakes with a regular needle is the easiest way to create a winter mood on your nails. However, this technique requires some skill. How to make a beautiful pattern correctly?
- Degrease the surface of the nail with nail polish remover.
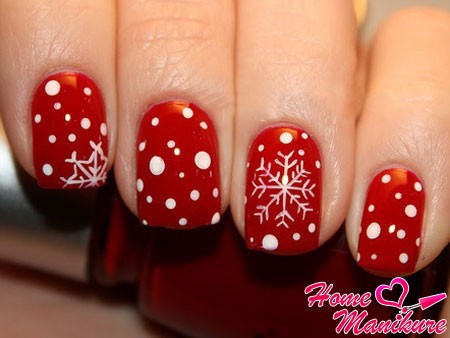
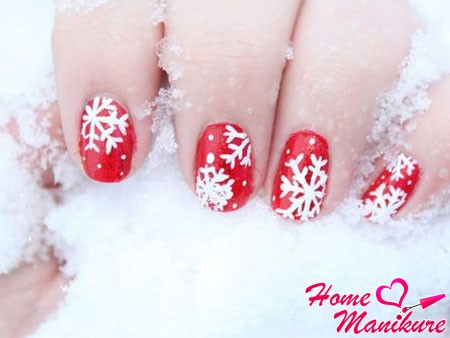
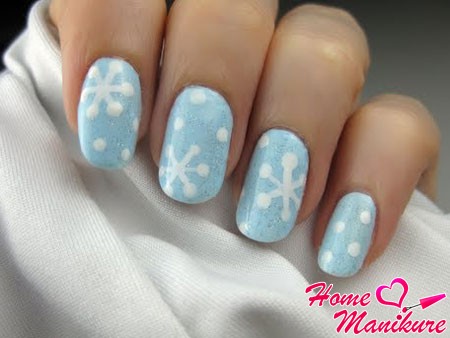
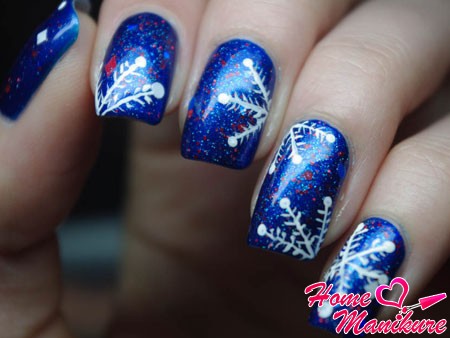
- Apply base coat. Ideally, blue or cyan is best, but you can choose the one you like best. A manicure with snowflakes looks good against a background of black, silver, bright red or burgundy. If your varnish contains sparkles, then the drawing will look even more spectacular.
- Determine the place where the snowflake will be drawn. Gently apply a drop of varnish in a contrasting color and immediately spread the rays to the side with a thin needle. This must be done very quickly before the varnish hardens.
- Apply a protective coating on top.
If you wish, you can decorate your nails with rhinestones, small stones, sparkles, but a snowflake manicure is gorgeous on its own. This method requires some skill, so do not be discouraged if the drawing is not very clear the first time.
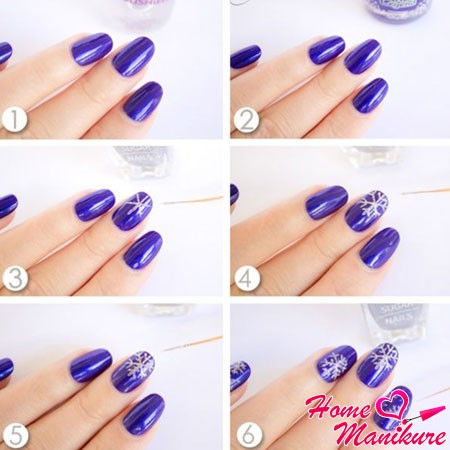
Drawing snowflakes on nails with a thin brush
If you are sure that your hand will not tremble, then you can use a very thin brush to perform with snowflakes. It can be purchased at the appropriate cosmetic department or ordered online.
- Apply a base polish to the prepared nail surface.
- When the base is completely dry, lightly dip the brush in a contrasting color varnish or art acrylic paint and carefully draw a snowflake.
- Apply a protective coating.
There is nothing complicated in this: 10 minutes of effort - and your nails will look elegant, original and festive. Looking at the photo, you can accurately understand the sequence of drawing.
How to quickly decorate your nails with snowflakes?
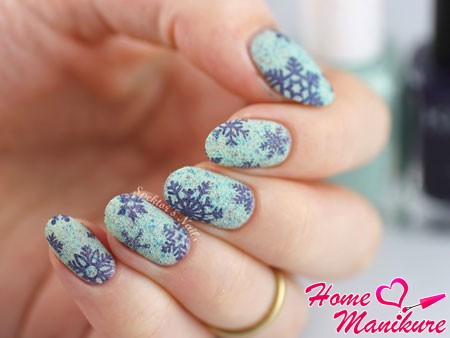
Some girls don't know how to draw, others don't want to mess around with small details, and still others simply don't find time for this. For these women, there is an easier way out - the use of stencils or stickers. A manicure with snowflakes turns out to be no less amazing, and it takes several times less time to complete it. Using stencils is very easy.
- Apply the base tone on the surface of the nail and wait until it dries completely.
- Now carefully place the stencil on the desired area of the nail and apply varnish in a contrasting color.
- When you take it off, a neat and pretty snowflake will flaunt on your nail. It will take you only 10 minutes to create an incomparable manicure.
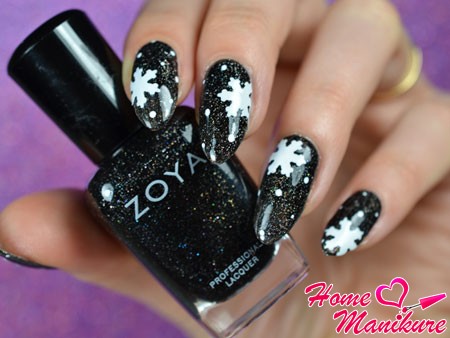
There is another "lazy" way to create a great manicure - you can simply stick snowflakes! In this case, you apply the main tone to the nails, carefully apply the elements of the pattern and fix it with a transparent protective varnish. A special showiness of manicure can be given with sparkles and rhinestones. Look at the photo and you will see what magic stickers look like.
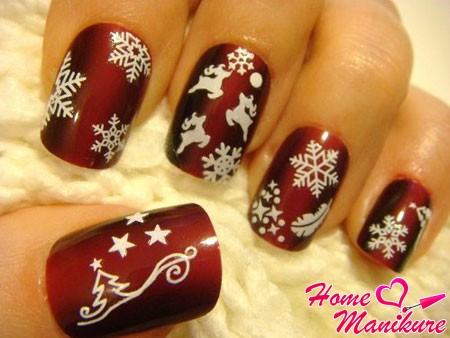
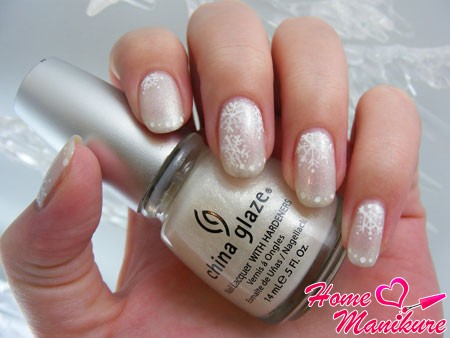
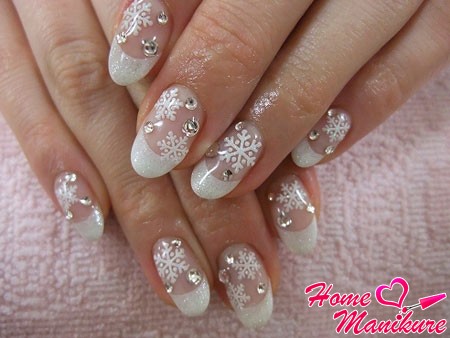
The best ideas for a delightful snowflake manicure
In this section of our article, we have collected for you the best photos that will give you inspiration, push you to new ideas, and help you create your bright and individual manicure. Pay attention to the combination of colors, the arrangement of snowflakes and decor elements.