Technique for applying sand to gel polish
A new look at sand nail design
To create a spectacular manicure, they often use a special decor or a special one. One of the unusual decorations of your manicure can be velvet sand, which can convey an incredibly beautiful - voluminous effect.
What is sand
Velvet sand is a special powder for nails, reminiscent of sequins in its structure. This type of design appeared quite recently, while it quickly reached the peak of popularity. The main feature of such a manicure is its originality and beauty.
Its advantages
The velvet design combined a number of advantages, thanks to which many girls gave preference to it.
- Versatility.
Sand looks great on natural and artificial nails, and ordinary or gel varnishes are suitable for fixing it.
- Accuracy.
When choosing a component, you should pay attention to the size of the grains of sand, the smaller they are, the neater your manicure will look.
- Strength.
This design is quite stable and somewhat reminiscent of the effect of liquid stone. The decor is not afraid of contact with water or exposure to chemicals.
- Originality.

Externally, velvet sand fully justifies its name. The nail is like real velvet, just as soft and pleasant to the touch.
- Availability.
The material can be easily found in any specialized store. A jar of sand is inexpensive, and its consumption is low.
What will we need?
Before proceeding with the procedure for applying a velvet manicure at home, you should purchase the necessary materials that will greatly simplify the process.
We need:
- Nail files of various abrasiveness, cuticle nippers, pusher.
- Standard set for applying gel polish. Includes degreaser, primer, base gel polish, top coat and colored gel polishes.
- Liquid for removing the sticky layer and sponges.
- A fine brush for applying patterns and a medium brush for removing excess velvet from the skin.
- UV or LED lamp.
- If you have everything you need, move on to the next step.
Velvet application technology
Before you start creating a velvet manicure, you should decide what design you want to get: completely cover the nail plate with sand, partially or fill it with an artistic drawing.
Method number 1
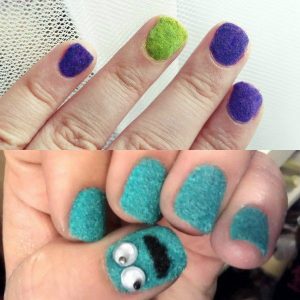
Consider the option of how to apply sand on gel polish when the entire nail is completely covered with velvet.
- To begin with, we carry out a complete preparation of hands and nails for manicure.
- We apply a degreaser, followed by a primer.
- We cover each nail with a base and dry it in a UV lamp.
- We use colored gel polish until the desired color density is obtained.
- Carefully apply velvet sand to the gel polish - not dried in a lamp (to simplify this procedure, it is better not to use brushes). Sprinkle generously on each nail over a sheet of paper so as not to lose excess spilled velvet.
- We carefully look at the powder for the presence of gaps.
- We press the sand to the nail with a fingertip.
- Dry for a few minutes to fix the velvet effect.
- Shake off excess velvet.
Applying finish - coating in this case is not a mandatory procedure, since the manicure is quite resistant, and the voluminous nail looks complete.
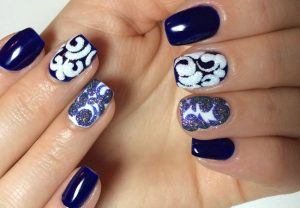
Method number 2
The beauty and originality of the velvet effect can be expressed not only by applying it to the entire nail plate, but also by decorating unusual patterns that look great on the nails.
- We prepare the nail plate, remove the cuticle and grind each nail.
- Apply degreaser, primer and base gel.
- We cover the nails with colored varnish in several layers, dry each gel layer in a lamp.
- After applying the finish coat, we fix it in the lamp again.
- Remove the sticky layer and start drawing patterns. To do this, it is better to use a thin brush and basic tone Shellac.
- Apply velvet sand to the dry surface of the drawing and press it a little with your finger.
- Dry in a UV lamp.
- Shake off the remaining sand from the nail plate.
Here we do not need a top coat, since the velvet is firmly attached to the surface of the nail. But remember, with prolonged contact with water, velvet may lose its appearance.
Some useful tips that will help you create an original and spectacular design using velvet sand.
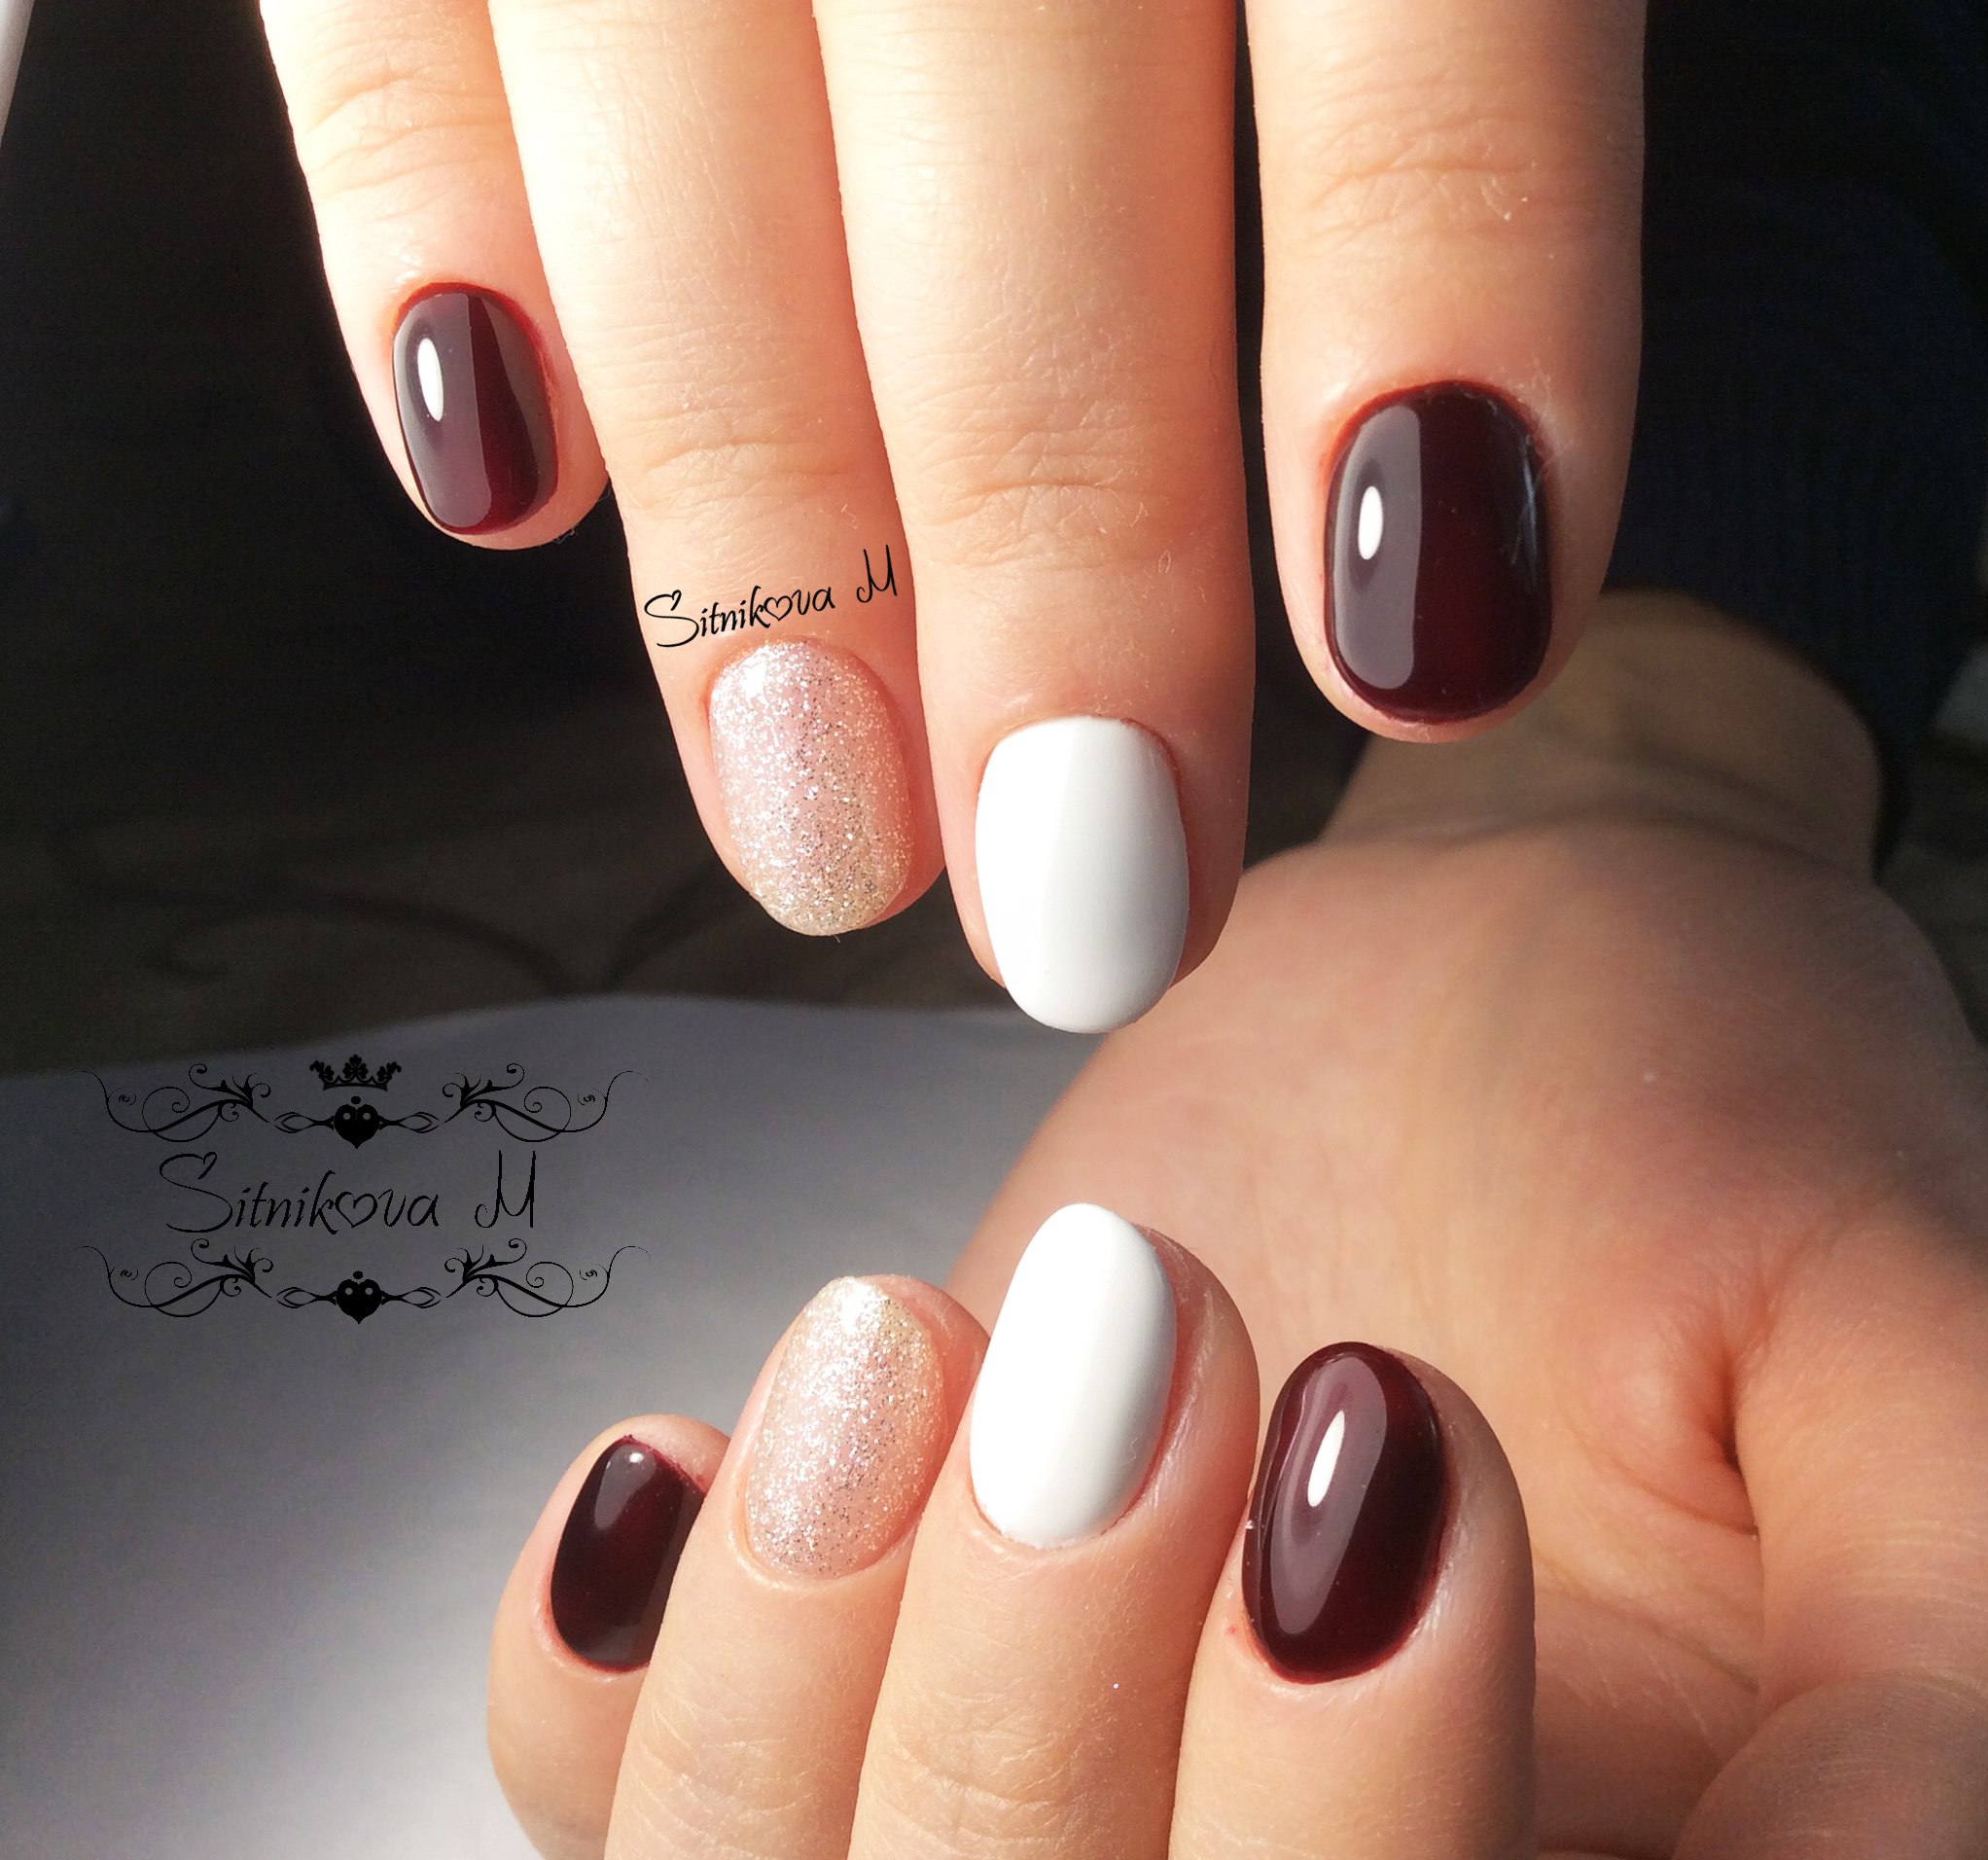
Nice french design.
To do this, you need to use white velvet, which is applied to the smile line. This option is perfect for a wedding manicure, and applying patterns with white sand will make it more expressive. Decorating the wedding design with sparkling rhinestones will perfectly complement the picture.
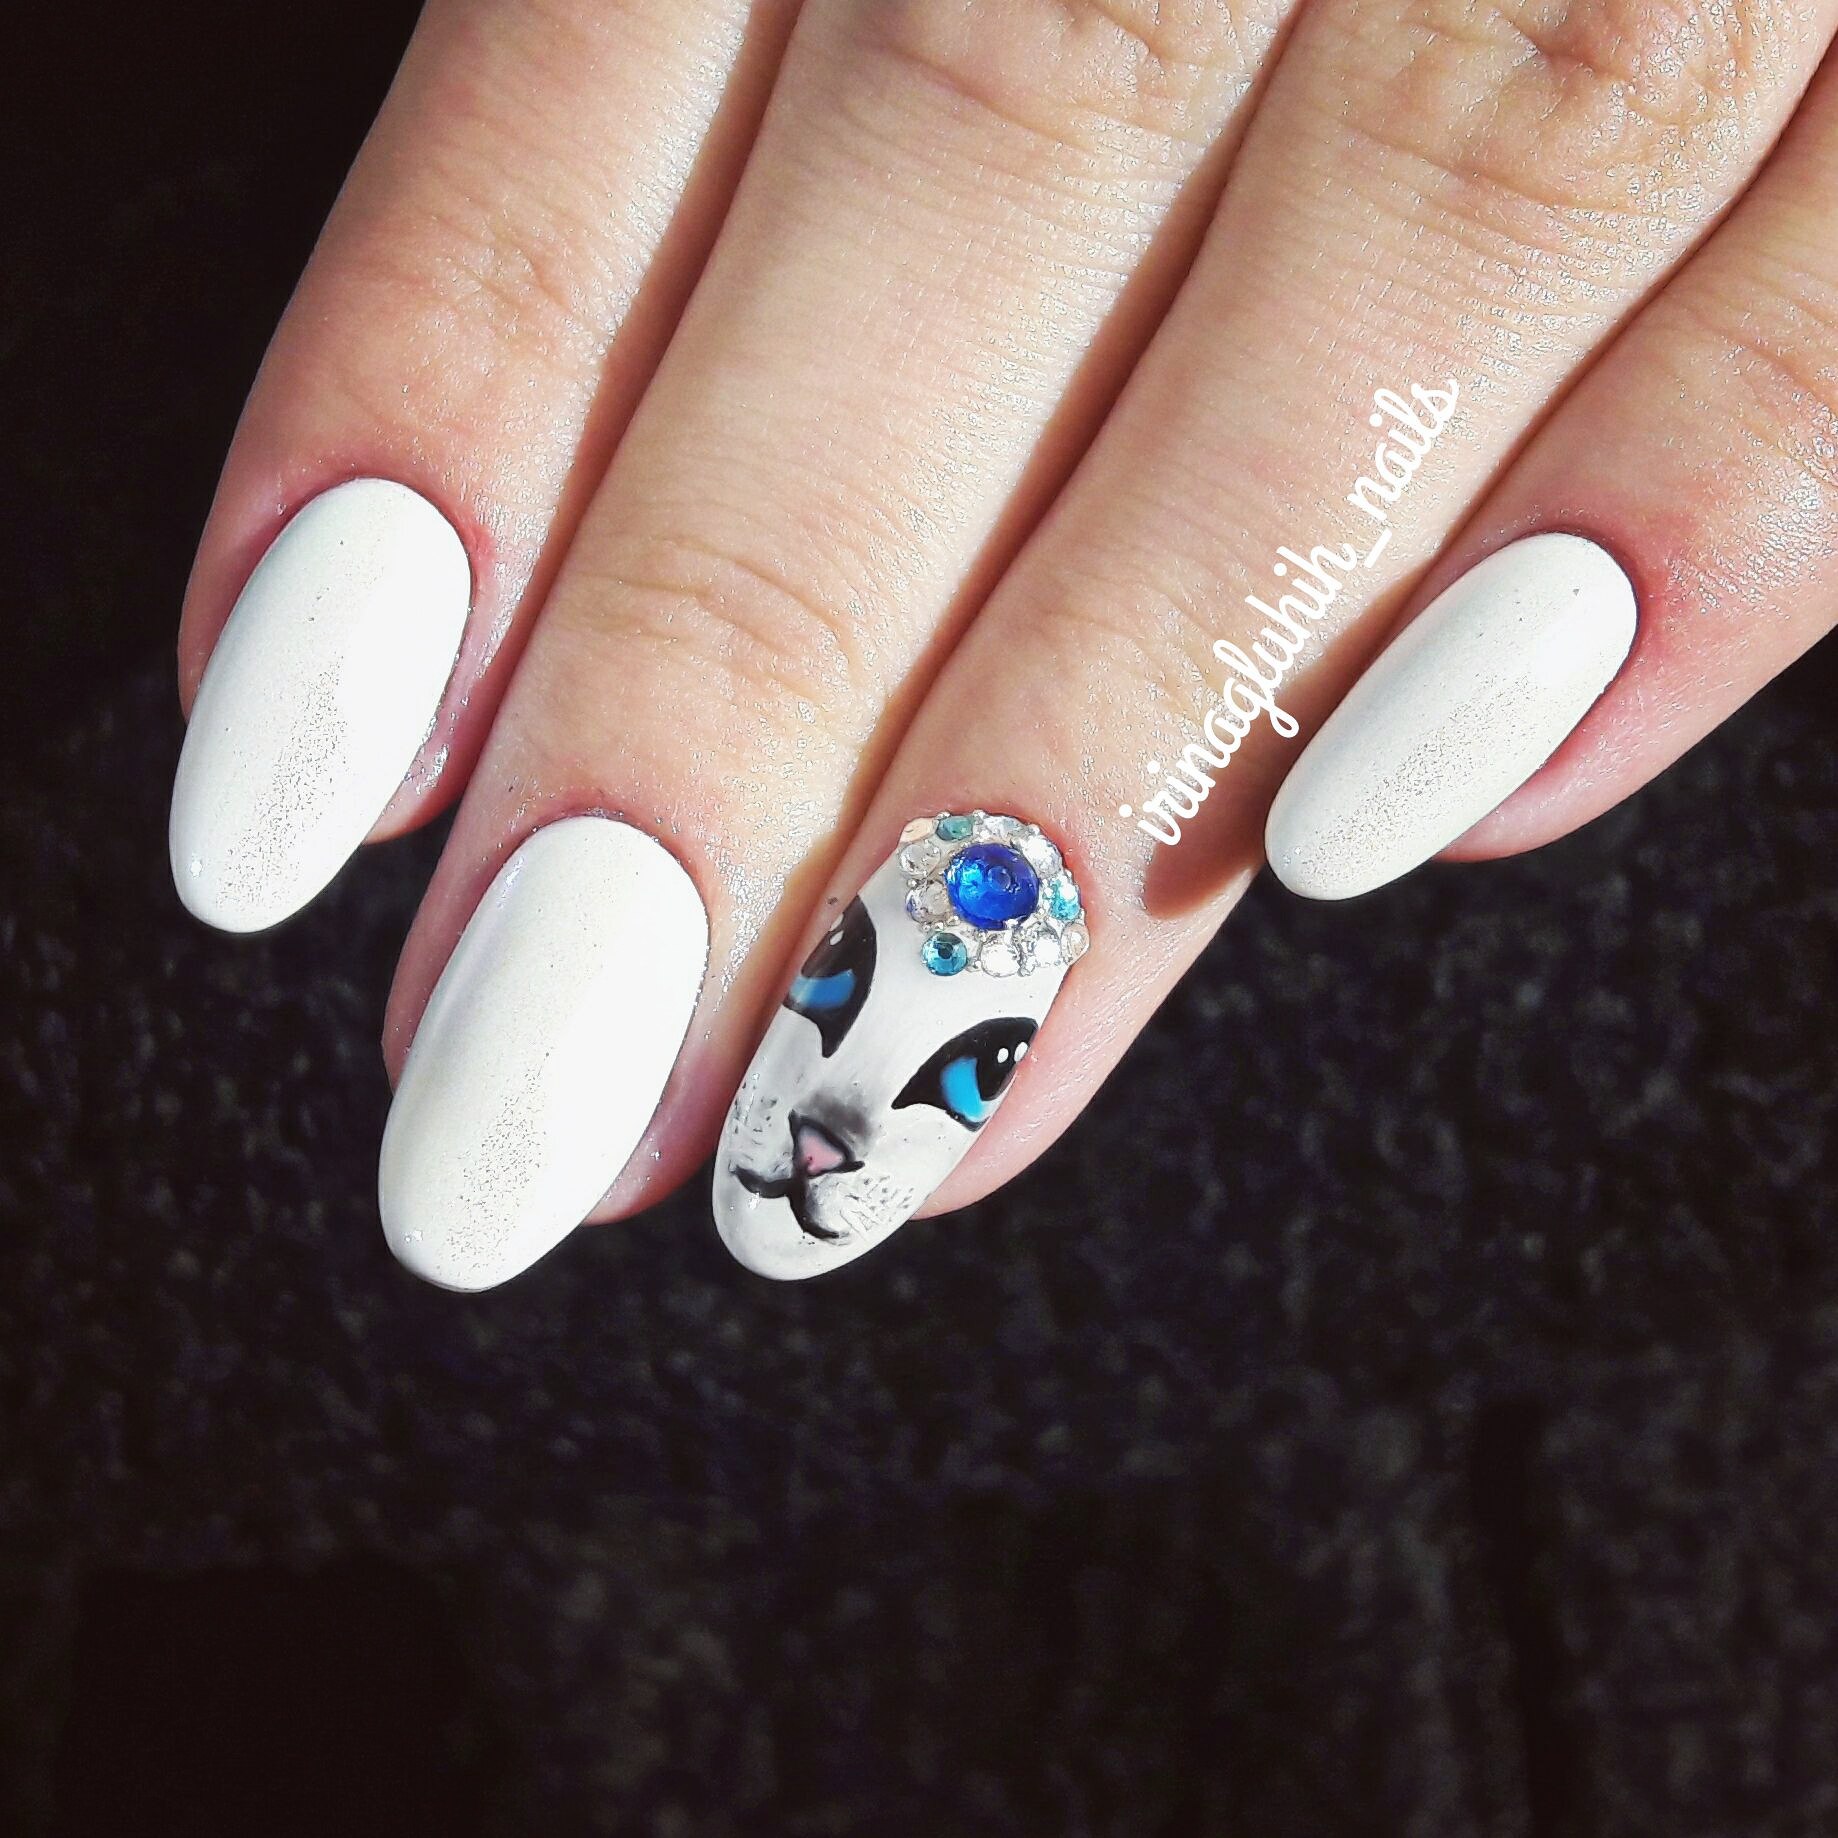
If you decide to apply a velvet pattern, you should not draw it on each nail, two or three nails are enough.
This combination emphasizes the presence of taste - moderately, but no less beautiful.
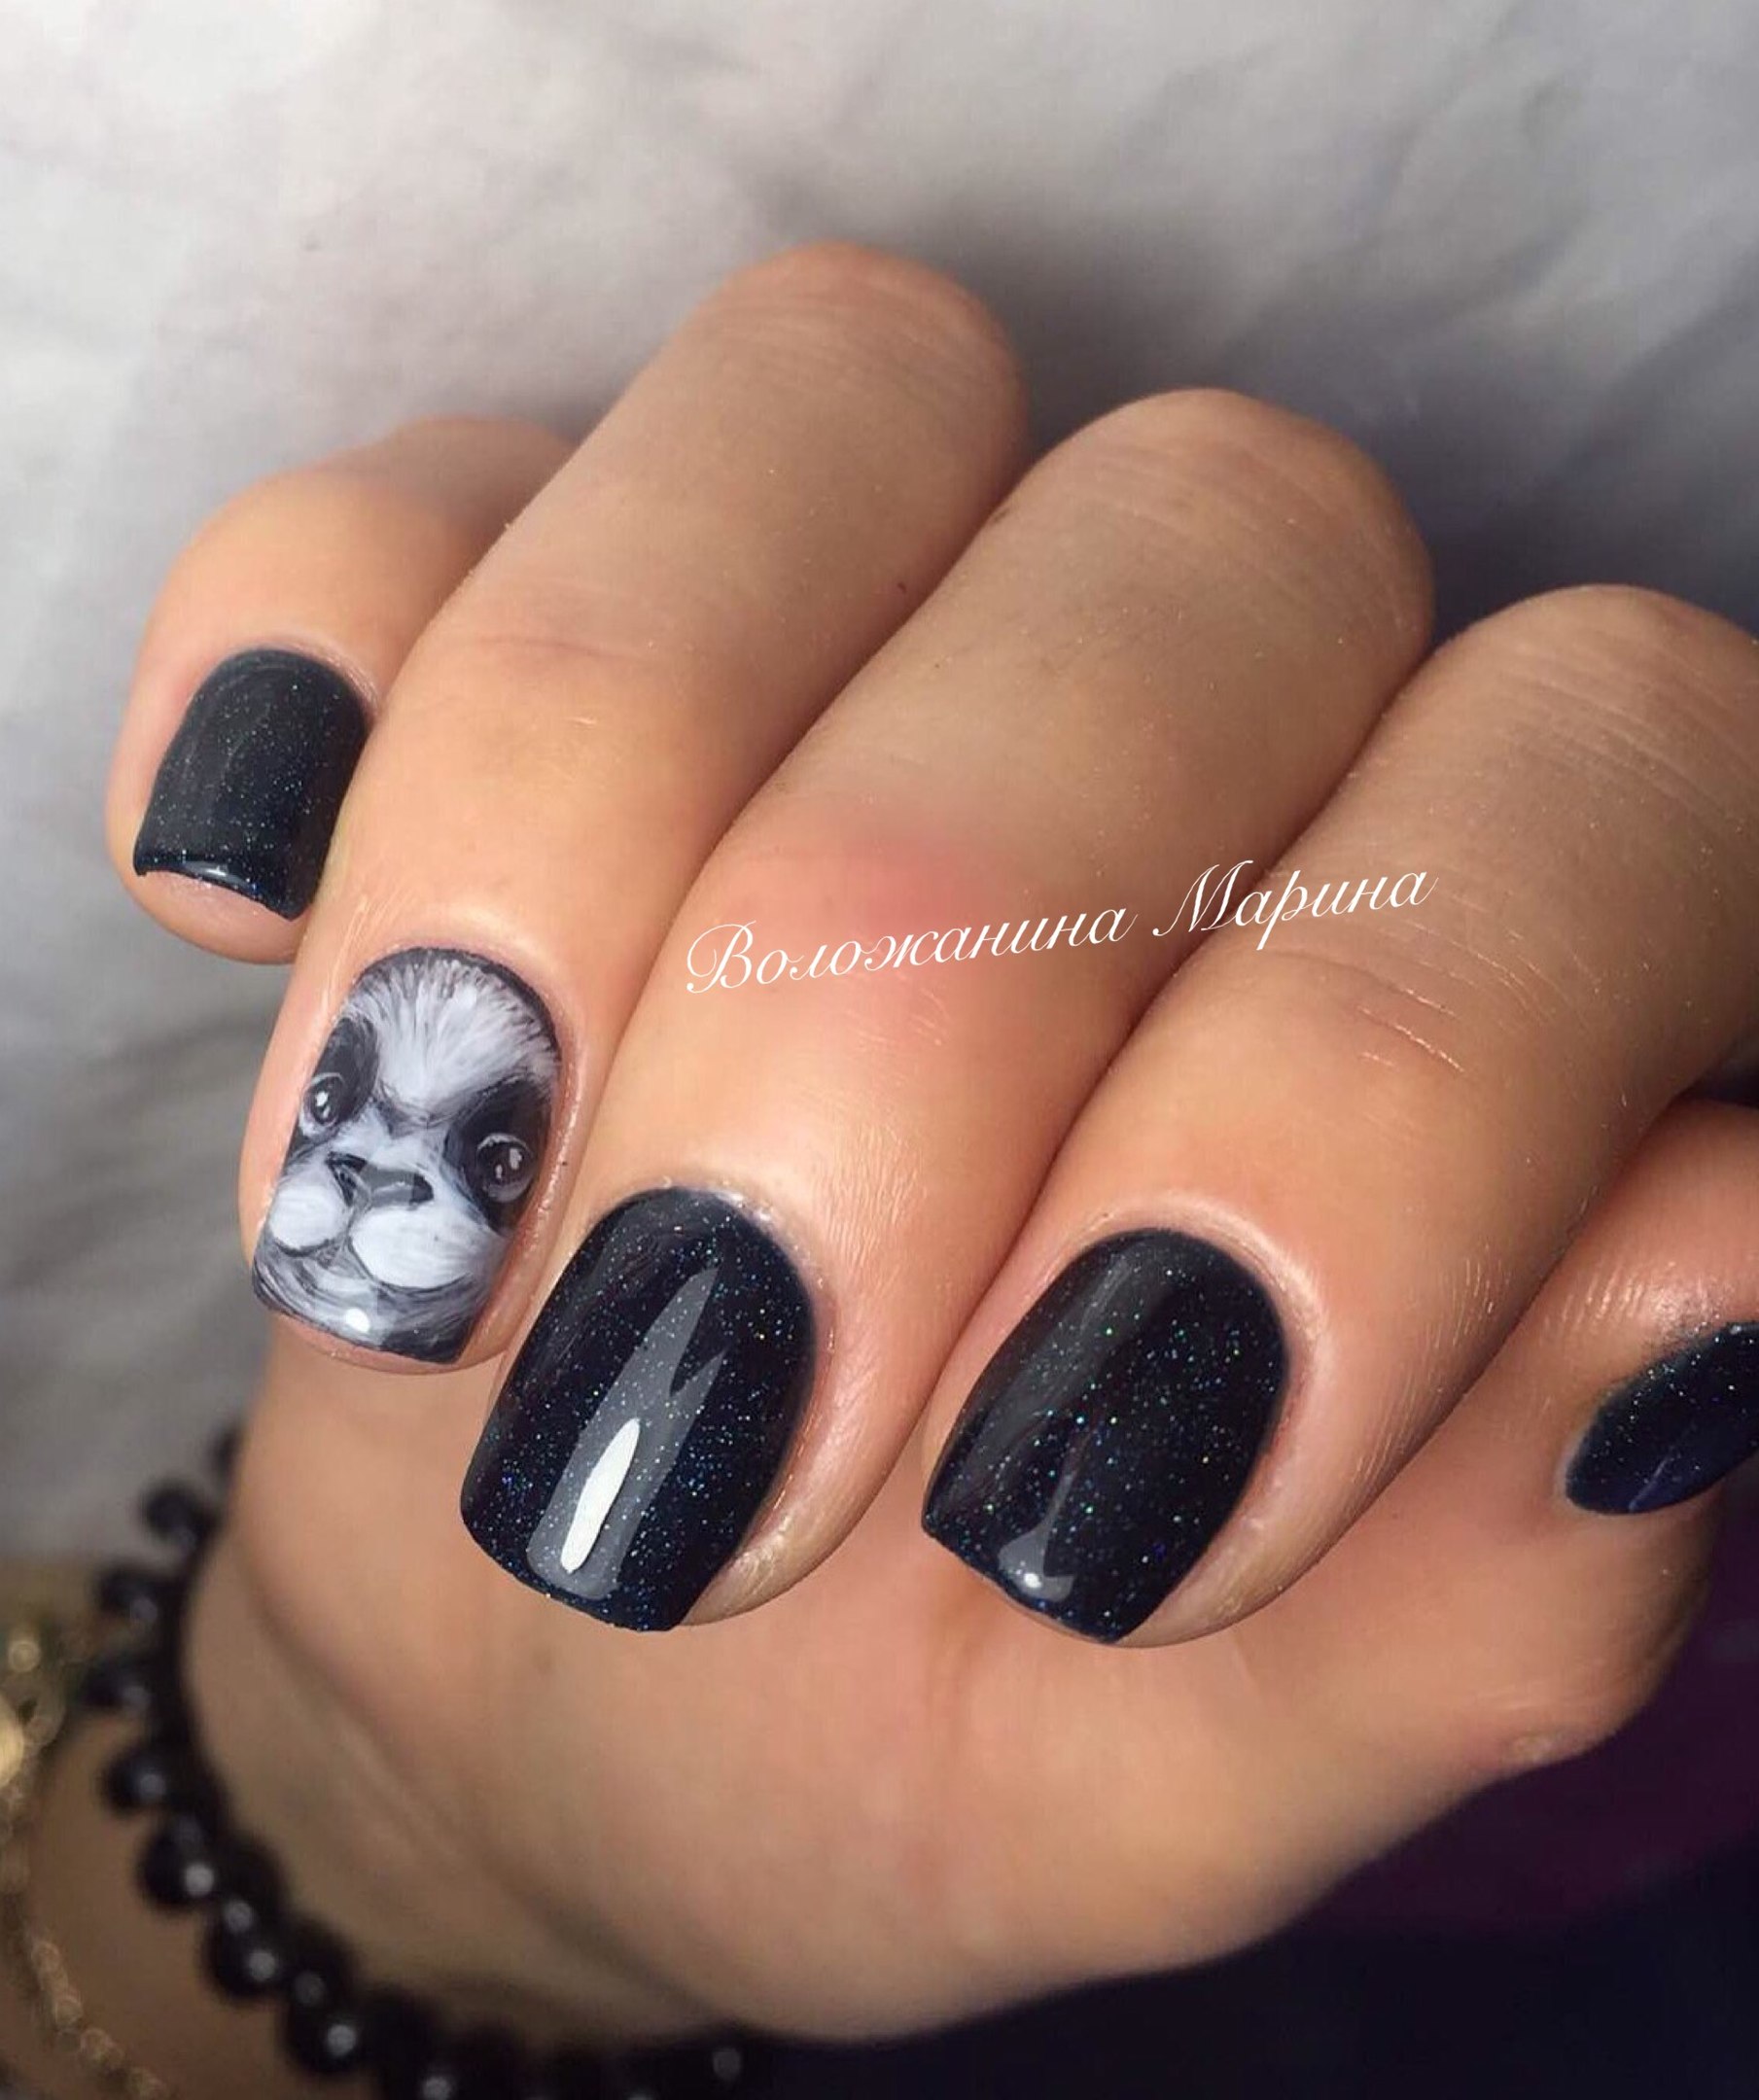
A classic composition of black and white tones of gel polish.
White velvet looks contrasting against a black background, emphasizing the depth of the design. So - gold or silver velvet looks good against a black background.
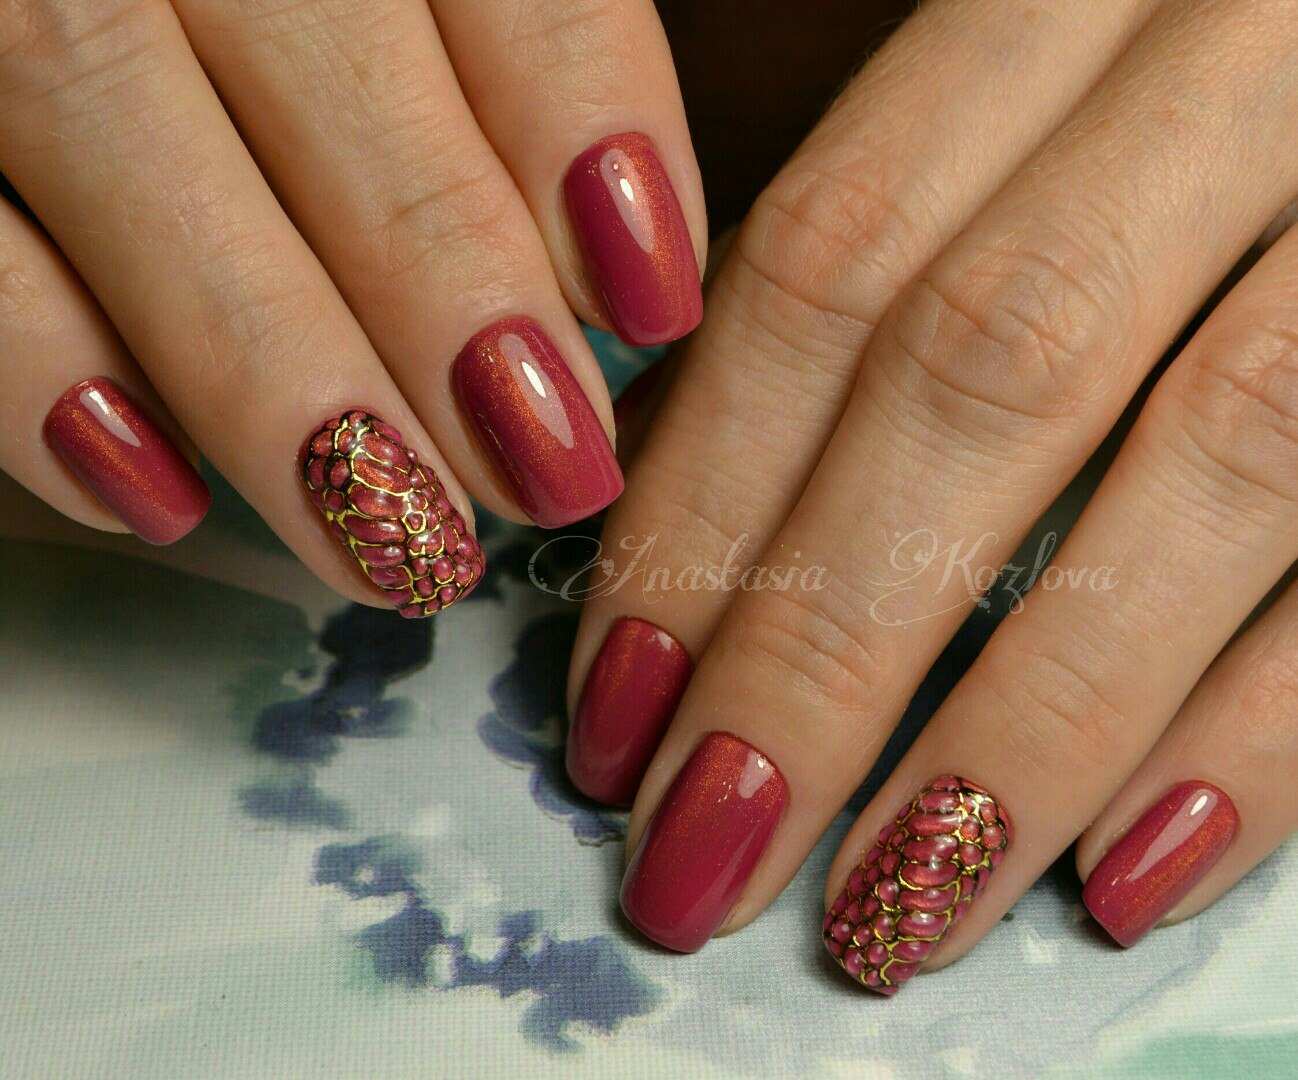
- Red shellac and black sand.
This composition will turn any shy into a fatal lady. Red color on nails is always in fashion, and decor with velvet sand will add elegance and luxury to your look.
- Winter motives.
Such a manicure is preferred in the cold season, and the pigtail is the most successful pattern. In order to convey the entire depth of the design, the nail is sprinkled with velvet, thereby creating the effect of snow grains on the nails.
Velvet manicure is quite convenient and practical for special occasions, and the procedure for removing the gel coating is no different from the standard one.
Photo of gel polish nails with sand