Choosing a shellac manicure design with a ribbon: a step-by-step master class
Shellac manicure is increasingly being chosen by women, because it is both surprisingly beautiful and practical at the same time. And if you add it with interesting accessories, you can generally turn your nails into a real work of art. One of the most relevant and popular fashion trends is shellac manicure with tape. Let's see how to do it right.
Navigation:
What is nail tape
The modern beauty industry offers fashionistas a lot of interesting accessories that are designed to make a manicure unique and inimitable. One of them is a special tape, somewhat reminiscent of adhesive tape. Such a tape is characterized by a beautiful decorative surface - matte or glossy, metallized or holographic - and an adhesive backing. It is very easy to use, and the result is spectacular and inimitable.
Modern manufacturers offer such a tape with different lengths and widths, as well as in a wide variety of colors. For nail design, it is recommended to choose a tape with the smallest thickness - it is much easier and more convenient to glue it, and besides, it looks prettier. Thanks to the high-quality adhesive composition applied to its base, it guarantees perfect adhesion to the surface of any nail coating, whether it is a regular nail polish, acrylic, gel or shellac.

In any case, it is necessary to glue the tape only after the absolute drying of the nail coating. And at the end, the final transparent coating must be applied. Thus, shellac with design tape will hold on stronger, stronger and more reliable. It is best to figure out how to do such a manicure step by step, a master class will help.
What is needed for a shellac manicure with tape?
Before you make an attractive trendy manicure, prepare everything you need:
- a set of tape for nails;
- base and top coat;
- 1 or 2 shellac coatings;
- thin tweezers and an orange stick for easy work with the tape.
Having at hand all the necessary materials and tools, you can start creating a unique nail design. Consider several options to make it beautiful and interesting. Photos and videos will help you with this.
Best Ribbon Nail Designs
Let's start the master class with the simplest nail design with shellac and ribbon.
Let's see how it is done step by step.
- First of all, you need to do a basic manicure - remove the cuticle, give the nails the desired shape, polish their surface.
- Apply shellac in one or two layers, and then dry the coating with a special lamp.
- Cut off a piece of tape of the desired length and gently attach its adhesive side to the surface of the nail. Keep in mind that in order to guarantee perfect adhesion, the adhesive surface must be reliably protected from even the smallest particles of grease.
- Using an orange stick, apply the manicure tape perfectly evenly and smoothly on the surface of the nails in accordance with the design you have chosen.
- After that, when the desired pattern is completely ready, fix the tape with a transparent top coat, which, like the main layer of shellac, must be polymerized with a lamp.
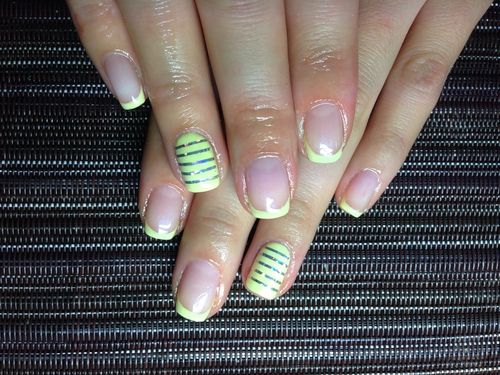
That's all, a successful manicure is ready - shellac nails with tape look very unusual and attractive.
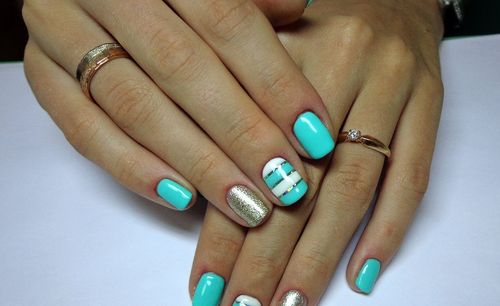
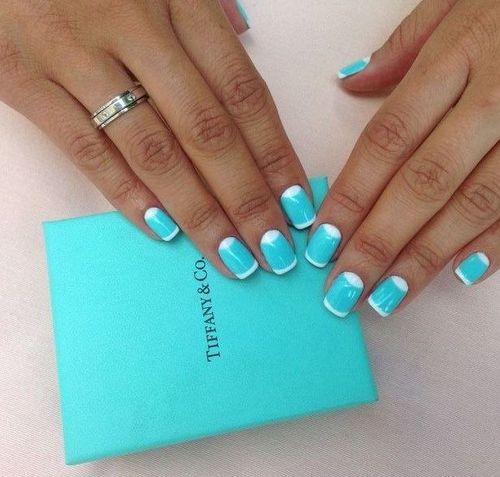
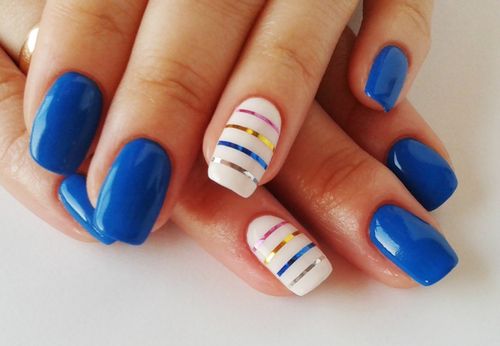
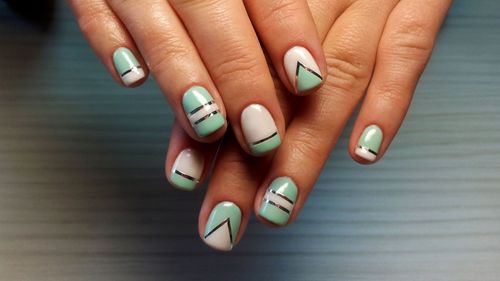
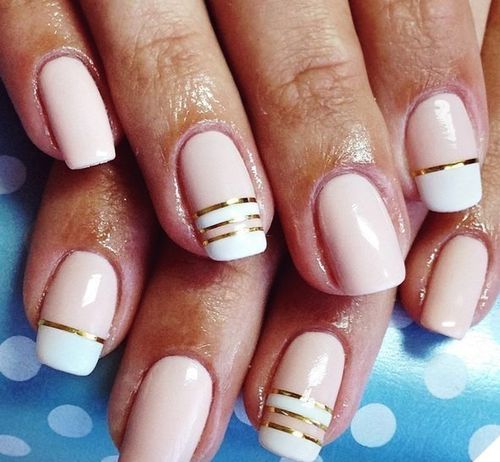
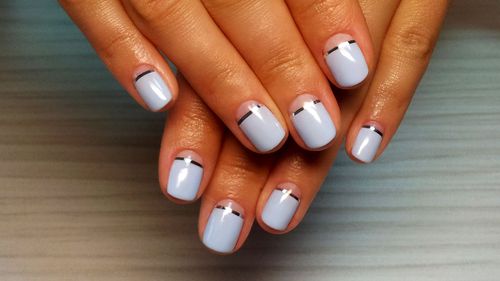
The simplest patterns made with tape are longitudinal, transverse and diagonal stripes, as well as a checkered pattern - the main thing is to glue it as carefully as possible so that the manicure turns out to be aesthetic and elegant. In the photo you can also see how duct tape is applied to create a moon and geometric shellac nail design.
Manicure tape as an auxiliary material
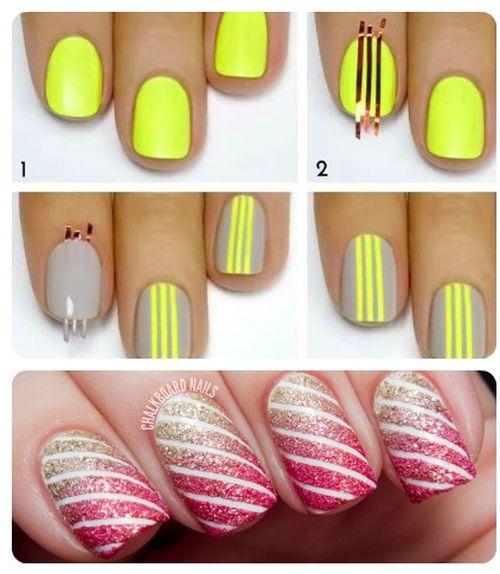
It is important to know that nail tape can be used not only as a decorative accessory, but also as an aid. Consider how shellac nail design with tape is performed in this case.
- The nails are covered with a layer of shellac of the same color and polymerized.
- Adhesive tape is applied according to the chosen nail design.
- A thin layer of another shellac coating is applied on top of it.
- The tapes are removed, resulting in colored stripes visible on the nails.
- Then, as usual, the top coat of shellac is applied and the nails are again polymerized.
If you have any questions, you can see how to do a shellac manicure with tape on the video. Feel free to experiment with this interesting decorative accessory and create a spectacular and unique nail design.


