Everything you need for gel polish. What you need to cover your nails with gel polish at home.
Modern girls try to look attractive and stylish. In this matter, the use of high-quality cosmetics helps, fashion clothes, accessories. One of the prerequisites for creating a stylish modern look is a delightful manicure made using gel polish. Now, shellac is the safest type of manicure coating that allows you to create a beautiful and durable manicure. And do not believe the statement that gel polish is not available for home use. Following a simple instruction will help any girl create a stunning manicure at home in the photo, without the help of a master.
Mandatory set
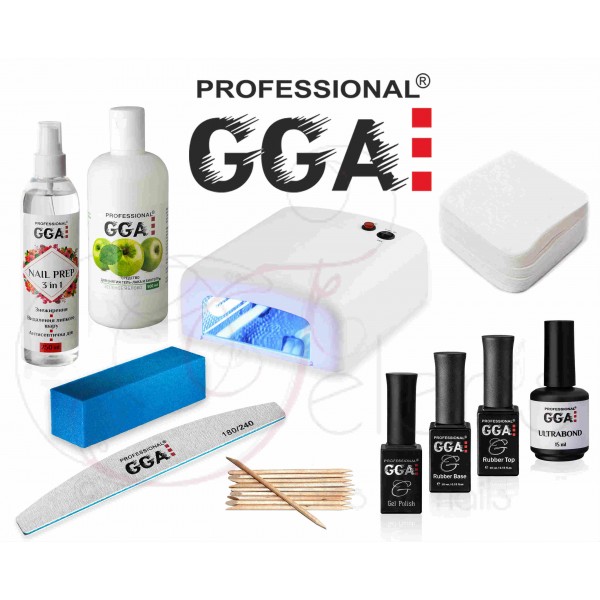
What is required for gel nail polish at home? To work, you will need to purchase:
- Base or foundation that will protect the nail plate from staining with shellac pigments.
- Several colored varnishes.
- Finishing composition for fixing the top coat.
- Shellac removers.
- Lamp for drying, brushes for application.
it minimum set, which allows any girl at home to create a manicure with gel polish. Having prepared a list of what is needed to cover the nails with gel, you can begin the procedure.
Technology features
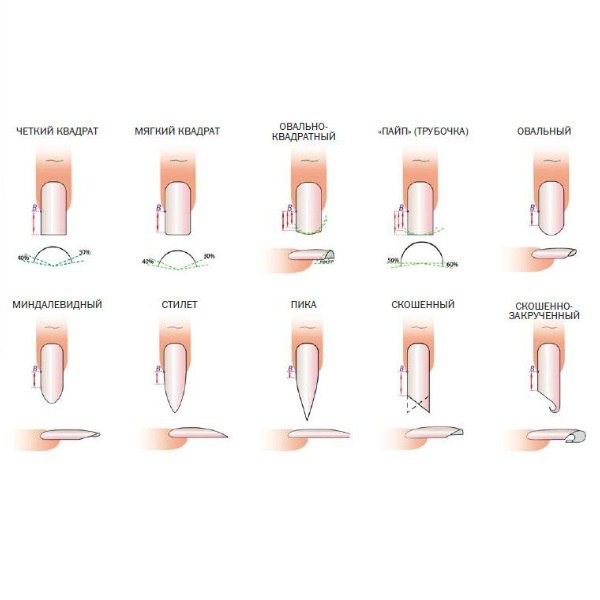
Beginners or experienced craftsmen Manicurists say that any manicure begins with shaping the nails. The ideal option, is a salt bath for hands, which will strengthen the nail plates, steam the skin and allow you to painlessly remove the cuticles. After preparatory phase, nails should be treated with a buff, which will remove the top layer from the plates. This procedure is necessary for excellent adhesion of the decorative coating to the nails.
After treatment with a buff, the nail plates are cleaned with a degreasing compound. In the process of degreasing nails, special attention should be paid to the ends, this will thoroughly clean the surface from small particles dust and in the future will ensure reliable adhesion of the gel polish to the base.
Layering
The technology for creating a manicure with gel polish at home is no different from the procedure in the salon. Even if you are a novice master, after degreasing the nails, you should start coating the plates with the base composition. The base is applied in a thin layer to ensure a flawless manicure. After applying the base coat, dry the nails in a lamp with UV rays. Using a lamp, the base should be dried for no more than 20 seconds.
Next stage step by step technology- application of decorative gel polish. Before applying, it is recommended to shake the bottle with shellac thoroughly.
To apply varnish, it is necessary to use the thinnest possible layer. If it becomes necessary to create a bright manicure, it is better to apply a second layer after drying. According to the shellac manicure technology, the multi-layer coating ensures the reliability and durability of the manicure. If the gel polish is immediately applied in a thick layer, then the coating will swell and will chip off the surface of the nails. A prerequisite for obtaining a high-quality manicure is the drying of each applied layer.
After completing the creation of a decorative coating, a top or fixing composition must be applied to the nails. It is necessary to give the manicure shine and ensure the safety of the coating for 15-30 days. After drying the top in the lamp, you need to remove the top, sticky layer with alcohol and a lint-free cloth. This procedure should be done carefully so that the manicure does not lose its luster.
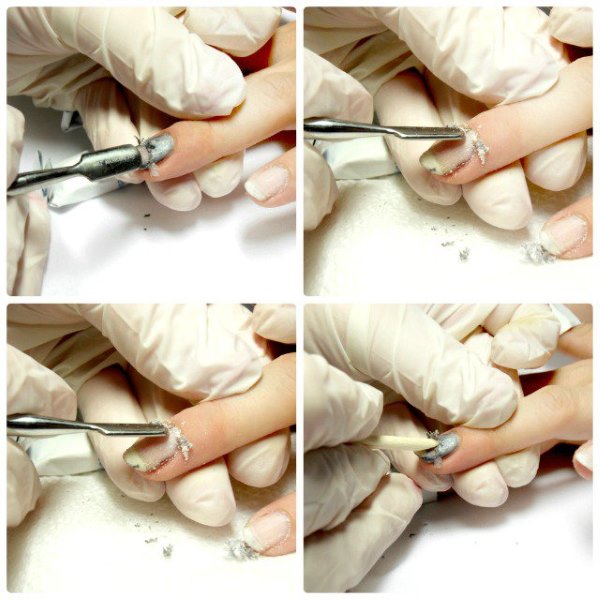
Removal Technology
What is needed to cover nails with gel at home according to the video, any novice master will understand. But, someday there will be a need to remove nail polish. In this case, you will need a special liquid, cotton pads and foil. After soaking the cotton wool with shellac remover, apply a compress to the nail and fix it with foil. We do this procedure with all fingers. After 15-20 minutes, remove the compress from one finger and remove the coating using a wood stick for this. No need to rush and remove all discs at once. When exposed to air, the gel polish will harden again, making removal impossible. After removing shellac from all nails, it is recommended to lubricate the plates with moisturizing oil in order to protect them from negative impact environment.
In conclusion, we note that applying gel polish at home is not a difficult procedure. Following step by step instructions, every girl can easily make a beautiful manicure with her own hands. The technology for creating shellac manicure at home is no different from the technique in the salon. The only pleasant difference for the user is the price. At home, shellac manicure will be much cheaper than the salon version.
A large number of women use the services of a nail care master. Buy gel polish for nails, how to use this tool at home, the rules for applying and drying, you will learn in this article. In fact, you can do nails at home, the main thing is to want and acquire the necessary tools.
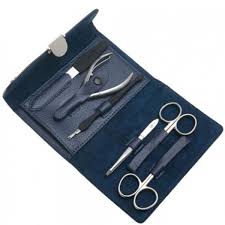
Auxiliary tools
Thanks to auxiliary elements, such as stickers and stencils, you can achieve amazing results. disadvantage homework was the instant destruction of the coating. But with the developed flexible gel - shellac, everything fell into place. In addition to covering the nail plate with gel polish at home, you can make extensions.
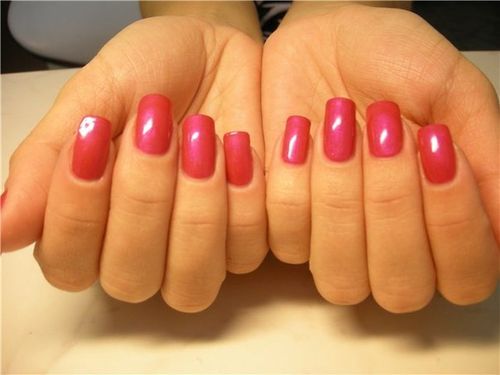
Shellac is very resistant and therefore remains on the nails for two weeks or more. You can apply it at home. The main thing is that the gel polish sits very well on the nails, conveys all the saturation of the color and gives a bright shine. It has a lot of advantages, the main thing is to apply this material correctly. 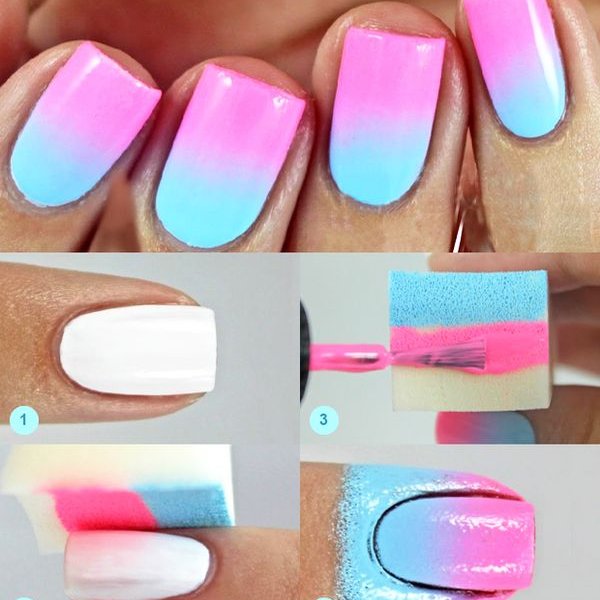
Necessary components for gel polish
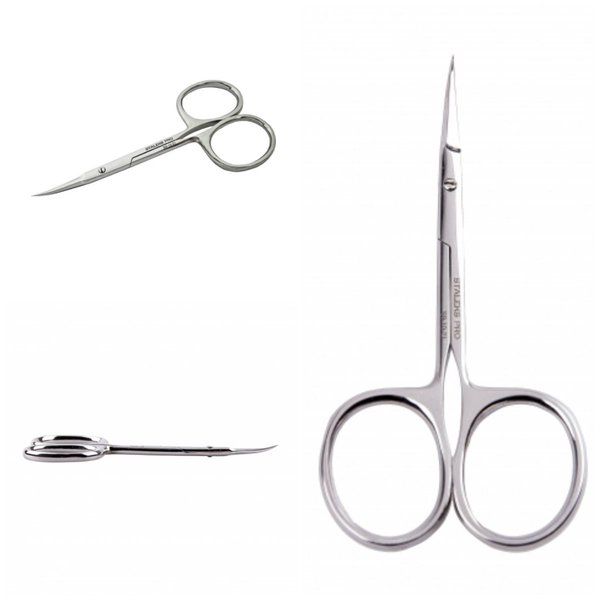
First you need to buy a base, gel polish itself, a top for fixing, a degreaser, an ultraviolet lamp, cuticle softener oil, the necessary wooden sticks, tweezers for trimming excess skin and cuticles. 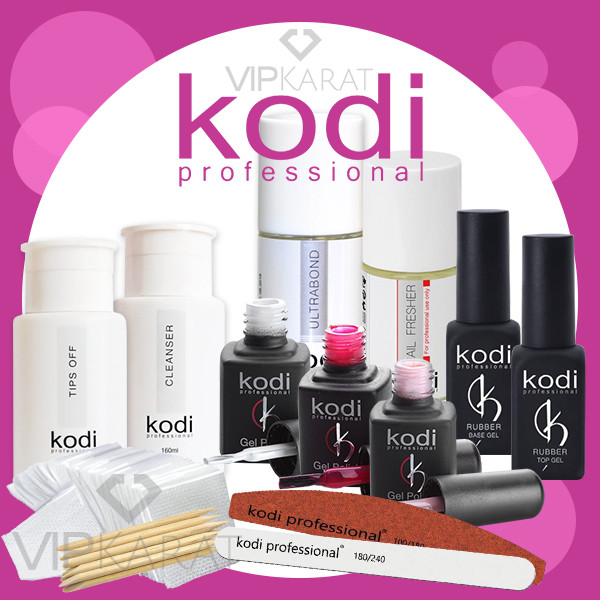
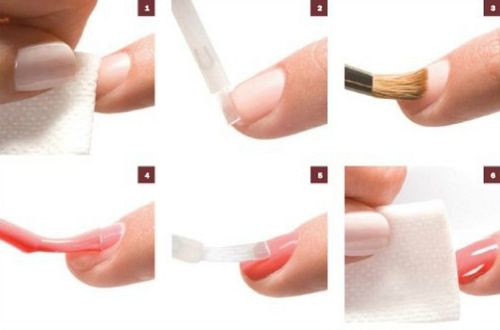
Step by step process
- Now you can move on to applying the base. Its layer must be very thin. In order for the nails to be worn for a long time, it is necessary to spread the gel over the entire area, and seal the cut of the nail with each application of a new layer. After application, place your hand in the lamp and dry for several minutes. The drying time depends on the power of the lamp, so you need to pay attention to this.
- To make nails well at home, you need a 36 free lamp. Although a layer of gel polish can dry in lamps with less power. But it is worth considering that powerful ultraviolet lamps make gel polish stronger and more durable. It can be purchased in regular and online stores. If you want to save money, you can find material much cheaper than on the shelves in cosmetics stores. To do this, you need to travel on the Internet.
- The next operation will be the application of the main shellac. Each layer must be applied very thinly and carefully to prevent gel polish from getting on the skin. If suddenly this happened, an orange stick will come to the aid of a beginner. Having corrected all the mistakes, you need to send the nails to the lamp, and wait until the layer dries.
Then we apply another layer, it can be made a little thicker, the main thing is not to overdo it. For safety, keep it under the lamp longer, about five minutes. - Now the nails are ready for the last fixing layer, after which the color will give a bright and beautiful shine, you can fix it several times, but within reason. Such layers should be dried for 3-4 minutes.
- After that, the case comes to an end, which is accompanied by the removal of the sticky layer using alcohol, degreaser or acetone. Don't forget to apply cuticle oil and rub. It will soften them and give a calming effect.
- If there are places where the gel polish is numb, usually this happens on the sides of the nail plate, yours must be removed immediately. This procedure is necessary to avoid premature detachment of the gel polish.
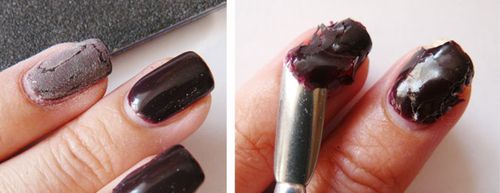
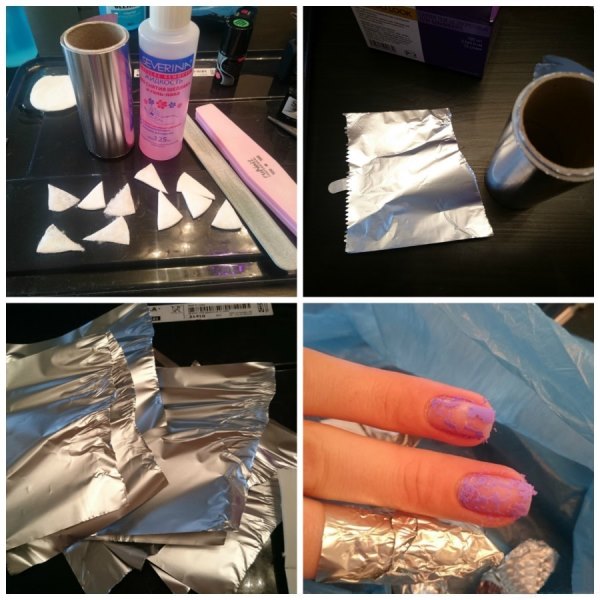
Removing shellac at home
To do this, you need: foil, cotton wool or its analogues, and a special gel polish remover.
First you need to dip a cotton swab into the product and put it on the nail plate and immediately wrap your finger in foil. Thanks to the foil, the agent does not evaporate and has a good effect on the material. After holding them like this for twenty minutes, you can begin to remove the remaining particles using a special wand. If it was not possible to remove the entire procedure at once, it is worth repeating, small pieces can be removed with a polishing file. 

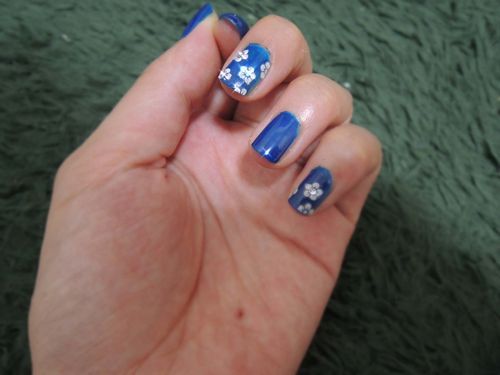
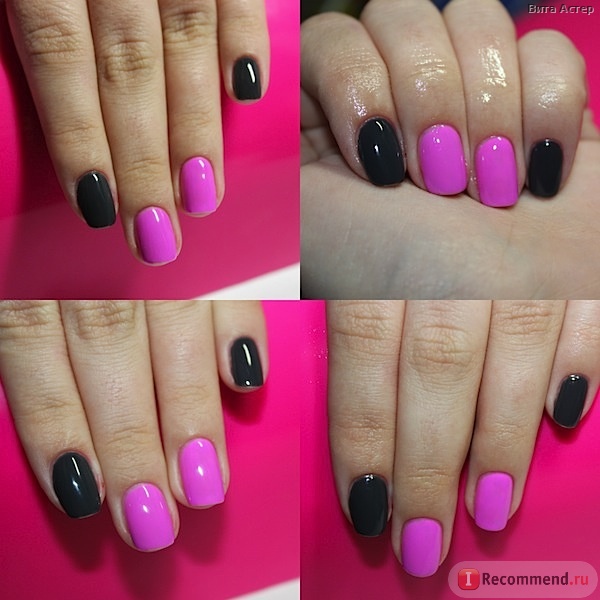
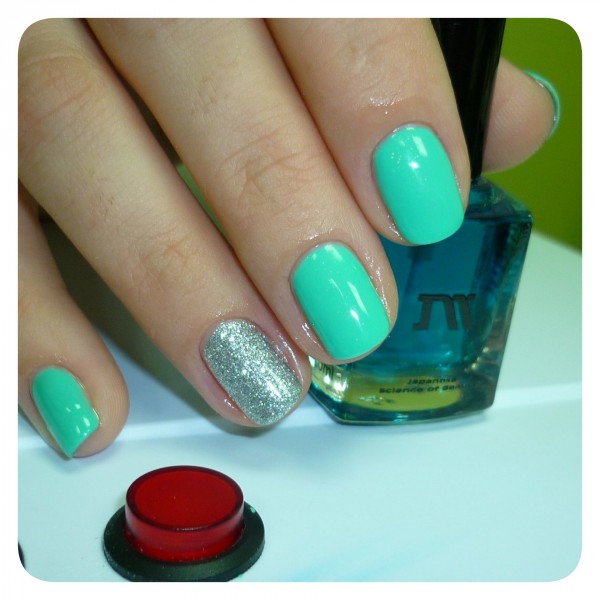
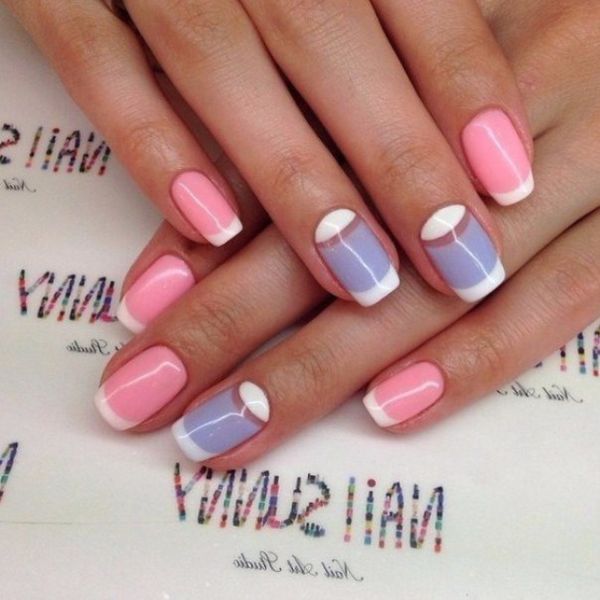
Beautiful design options
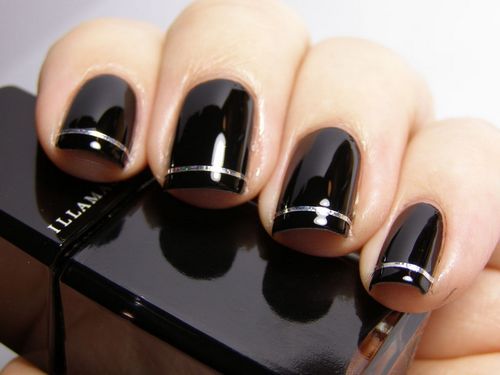
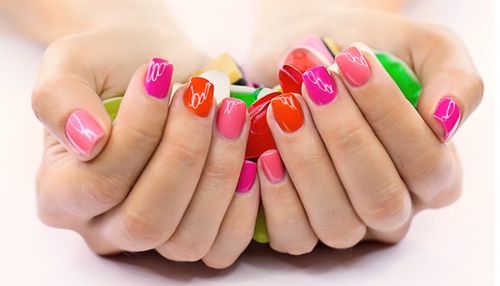
A win-win option in this difficult choice will be the classic French manicure, which has been popular throughout years. Also the best idea would be beautiful decoration nails with a variety of patterns, rhinestones and other interesting things. To understand how a moon manicure is done, every main thing will be able to perfectly apply their skills in practice. 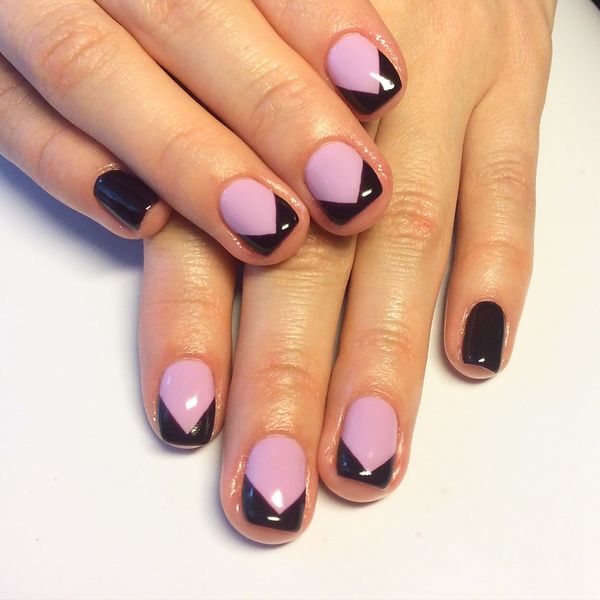
![]()

Video on the topic of the article: